
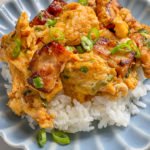
Chinese Scrambled Eggs with BBQ Pork is a quick and delicious dish that takes less than 10 minutes to make. Many Chinese (Cantonese) families make this dish when they want something healthy and delicious. The sweetness of the BBQ pork combined with the soft and savory eggs makes this a very flavorful dish!
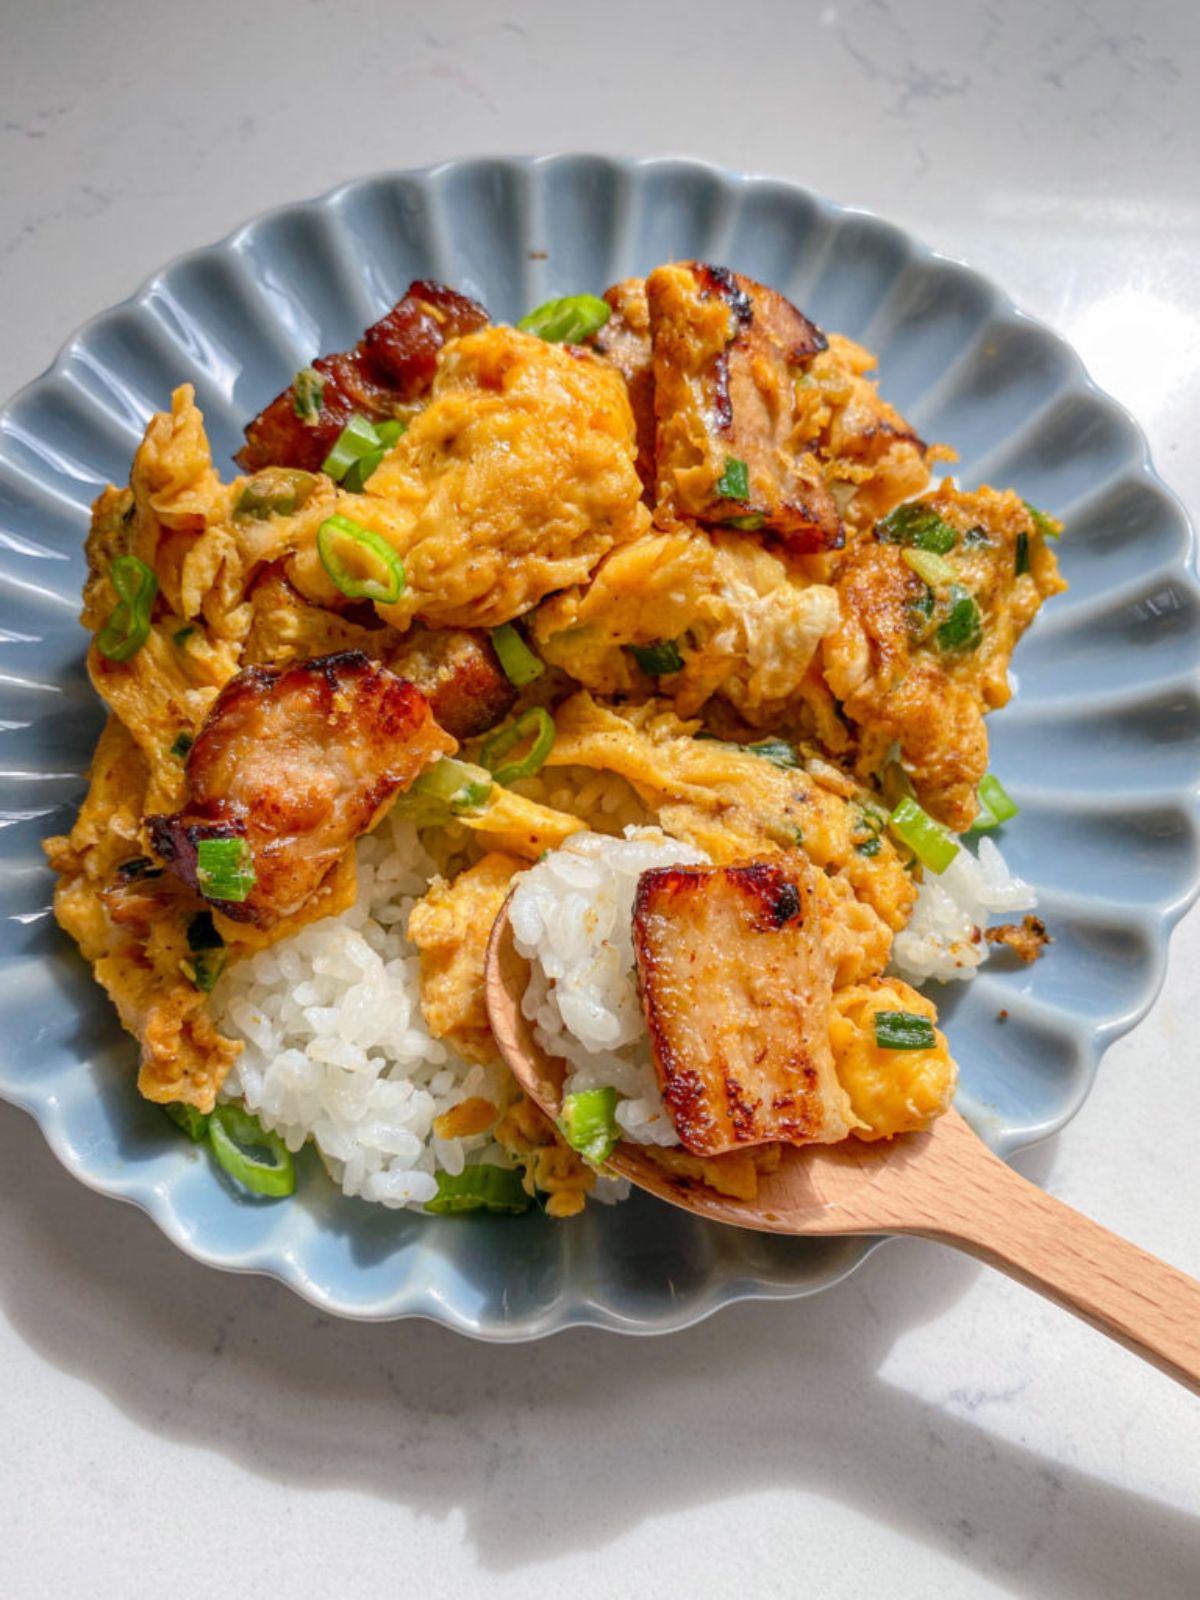
This cha siu (bbq pork) stir fry (叉烧炒蛋) is a typical meal my parents and grandma would make for me when I was young. The secret to the recipe is to season the eggs with sugar and chicken bouillon. For a complete Chinese meal, she served this dish with white rice, pork stuffed jalapeno, and Chinese steamed eggplant. Sometimes, we don’t have any bbq pork so we use any leftover protein or stir fry with Chinese chives only, which still tastes amazing and addicting! I hope this dish brings you nostalgia as much as it does for me.
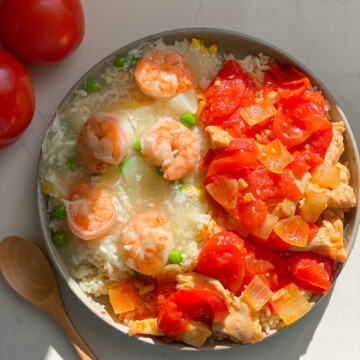
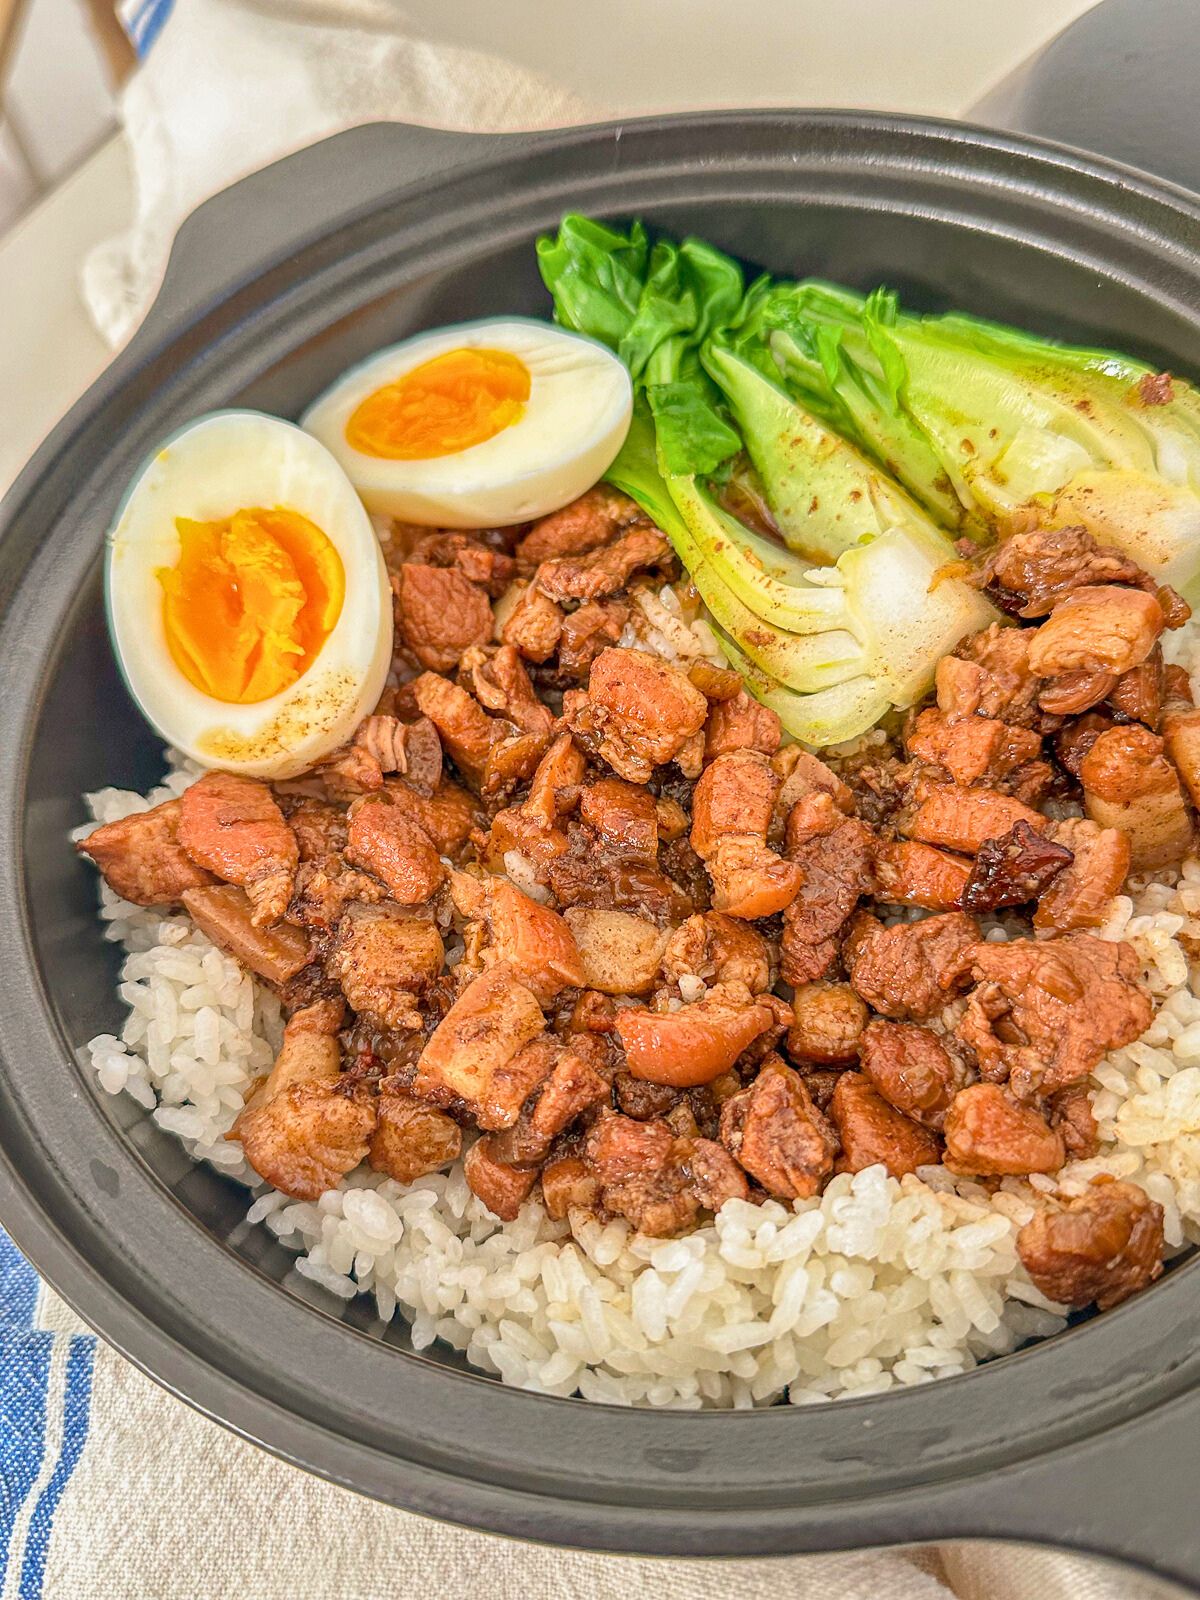
If you love tasty stir-fries, don’t miss my Shrimp and Egg Stir Fry and if you’re into pork recipes like this, you’ll definitely love my Taiwanese Braised Pork Belly Rice (Lu Rou Fan) too!
INGREDIENTS YOU NEED FOR YOUR CHINESE SCRAMBLED EGGS WITH CHAR SIU:
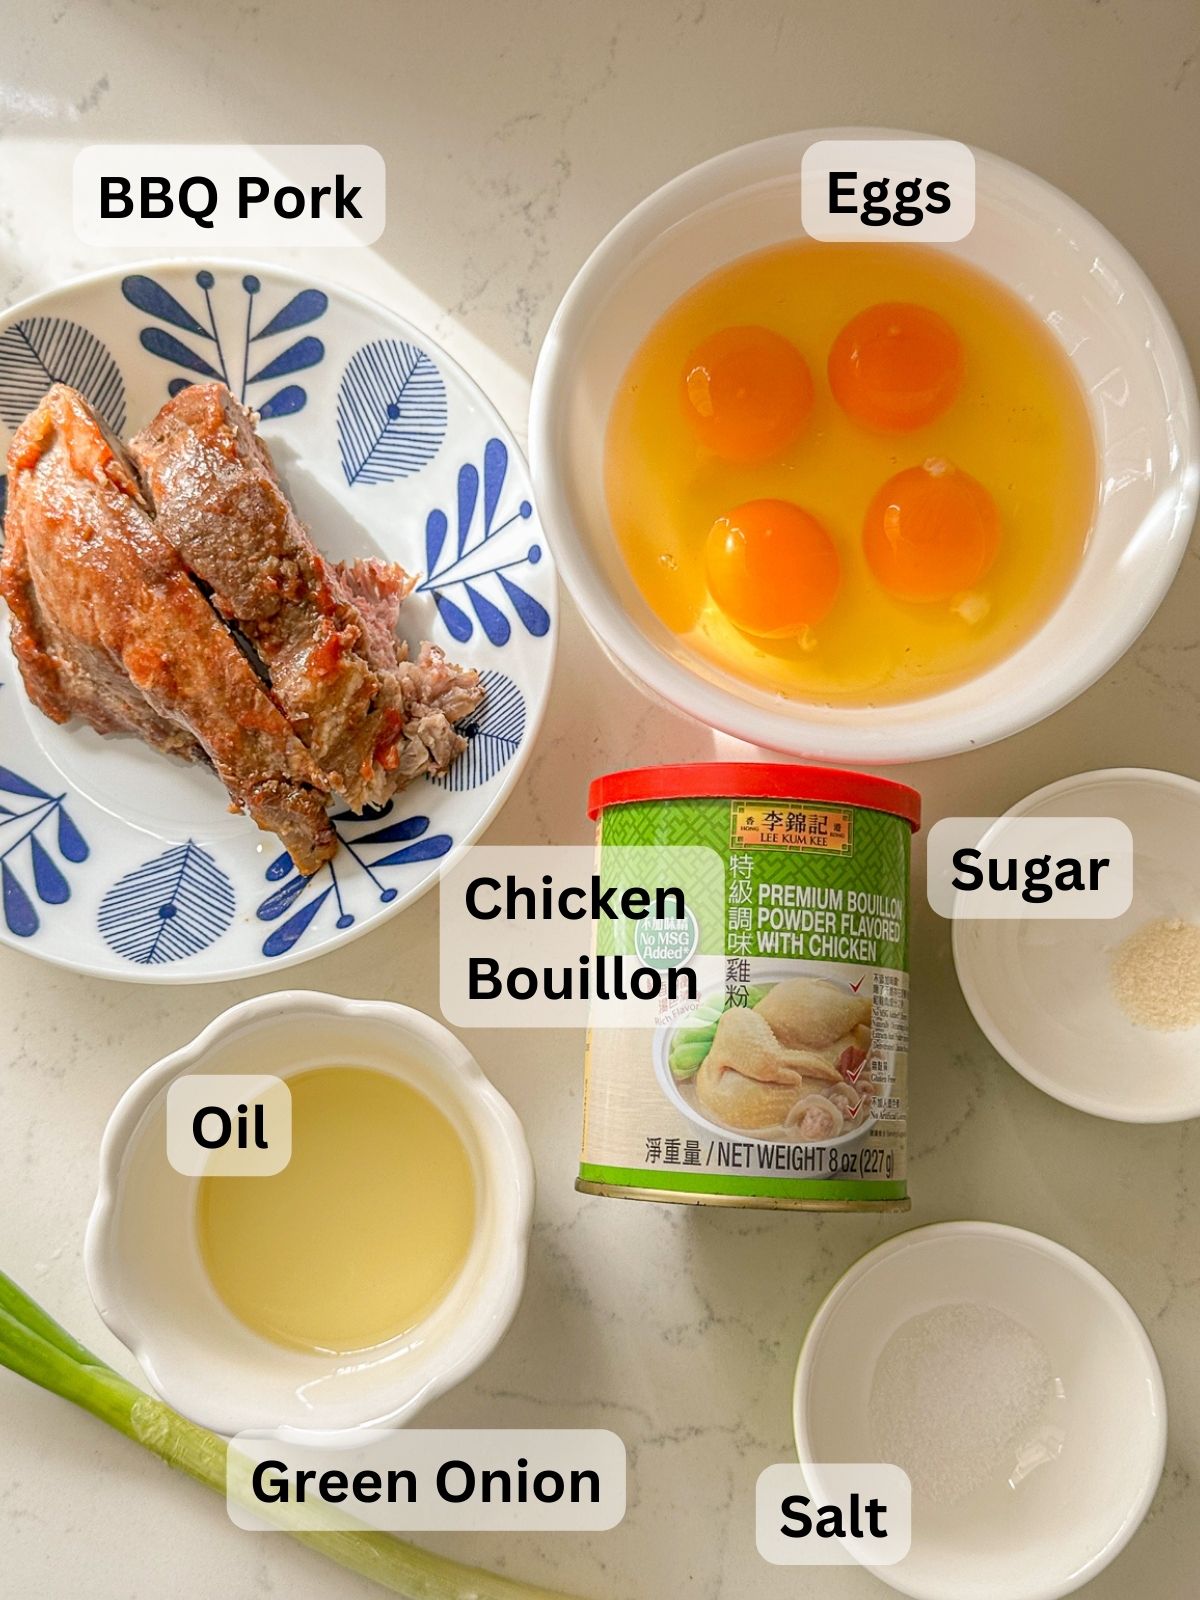
Here’s a look at the main ingredients to make this pork fried rice recipe. The full list of ingredients to make this Chinese BBQ pork recipe is in the recipe card.
- chinese bbq pork (cha siu) – I am using leftover char siu that I made a few days ago using the recipe from my Chinese family’s cookbook which you can buy and make homemade char siu too! You can also buy char siu already made at your nearest Chinese grocery store (like 99 Ranch). Feel free to substitute with your leftover protein of choice. You can also try my Shrimp and Egg Stir Fry if you don’t want to use bbq pork.
- chinese chives (optional, but highly recommended) – provides a nice fragrant and savory flavor to the eggs
- green onion
- eggs – the crucial ingredient to this dish and provides creaminess and fluffy texture.
- chicken bouillon – adds savoriness and sweetness to the eggs
- pinch of sugar – a balance of sweetness with saltiness of this dish
- oil – a good amount of oil ensures the eggs don’t stick to the pan
STEPS TO MAKE THE CHINESE SCRAMBLED EGGS WITH CHAR SIU:
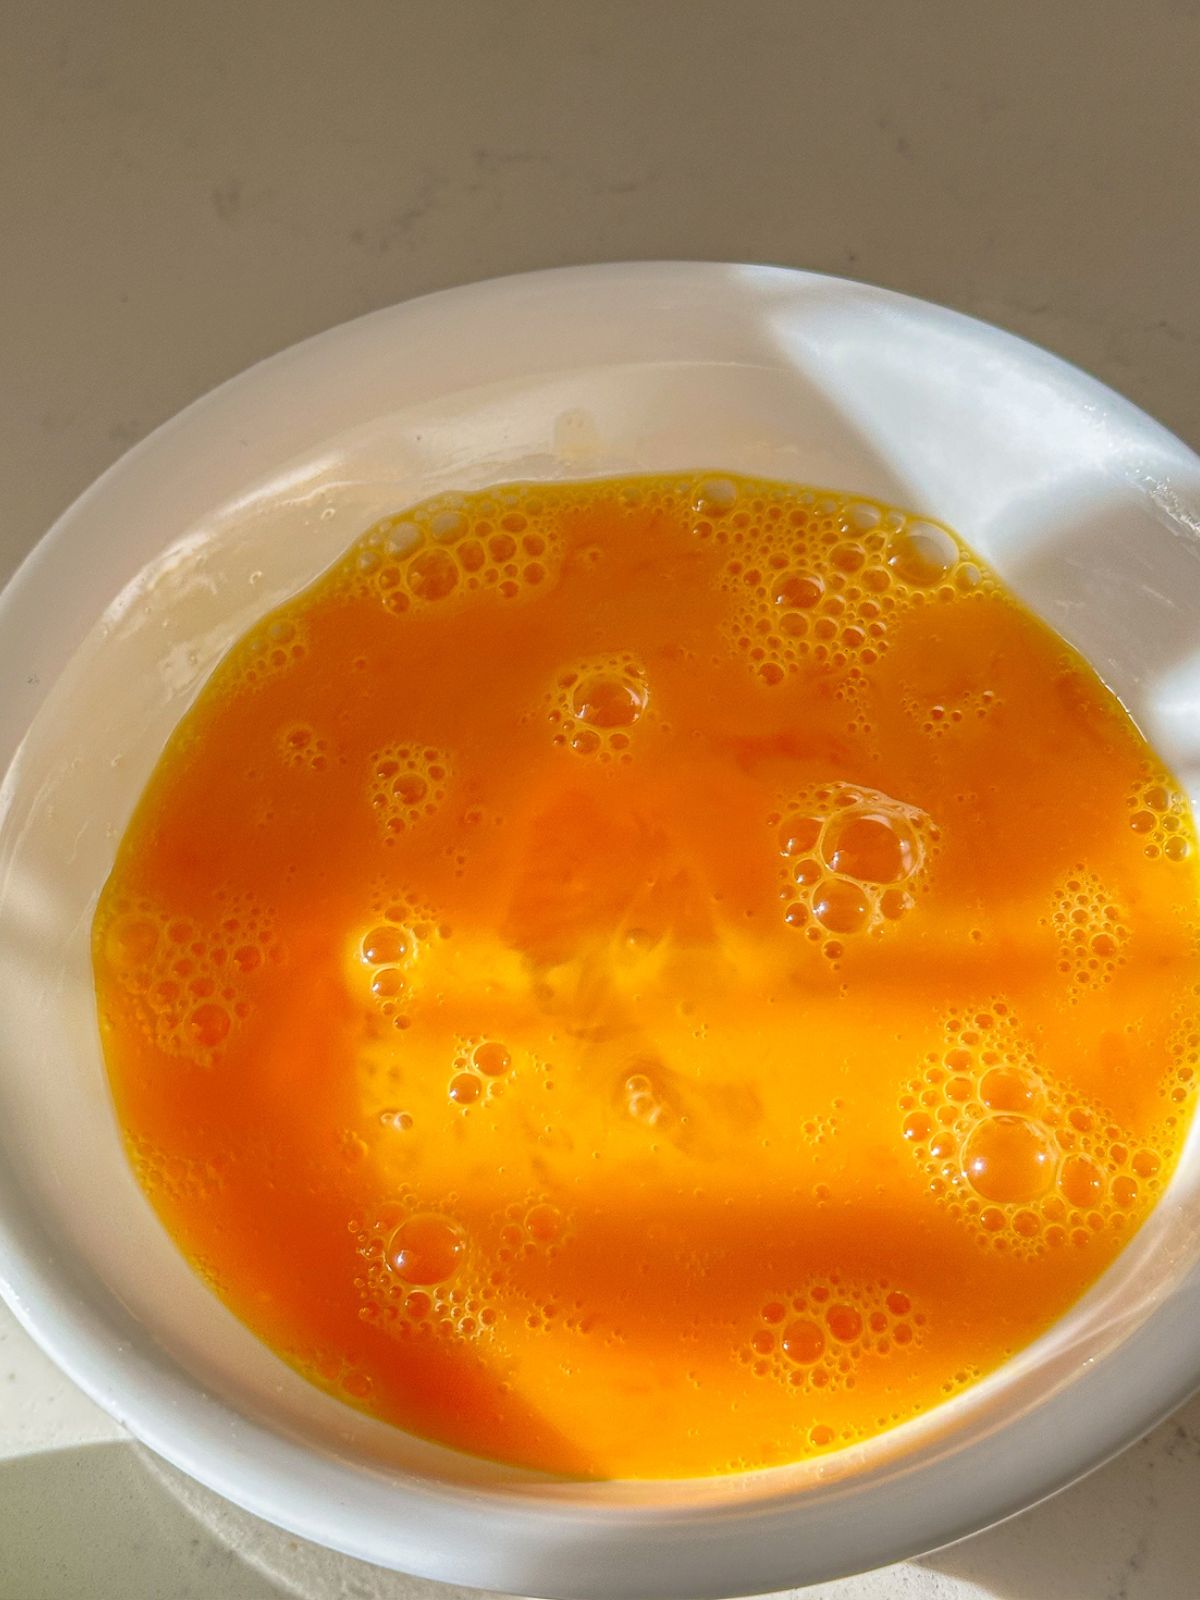
Step 1: Whisk 4 eggs with ½ teaspoon salt, ½ teaspoon chicken bouillon, and sugar.
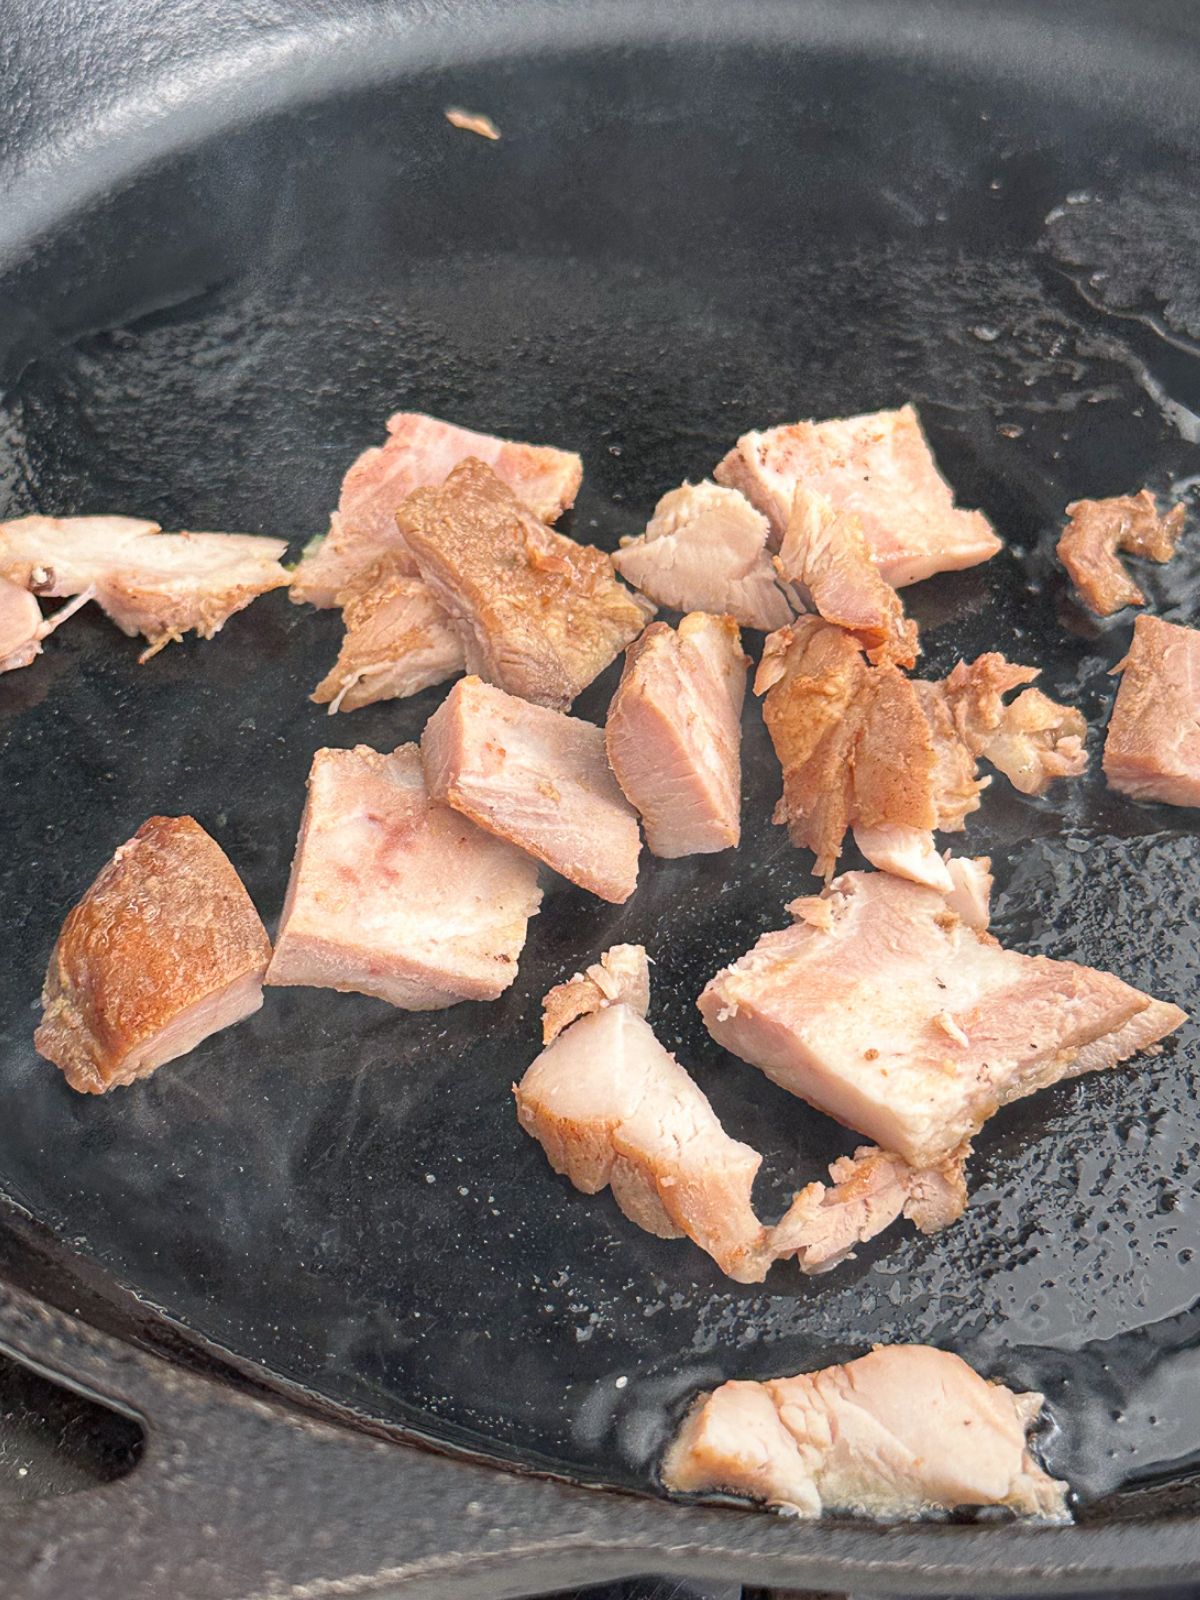
Step 2: Heat pan on low medium heat. Add sliced bbq pork to the pan and fry for a minute or until you see the pieces golden.
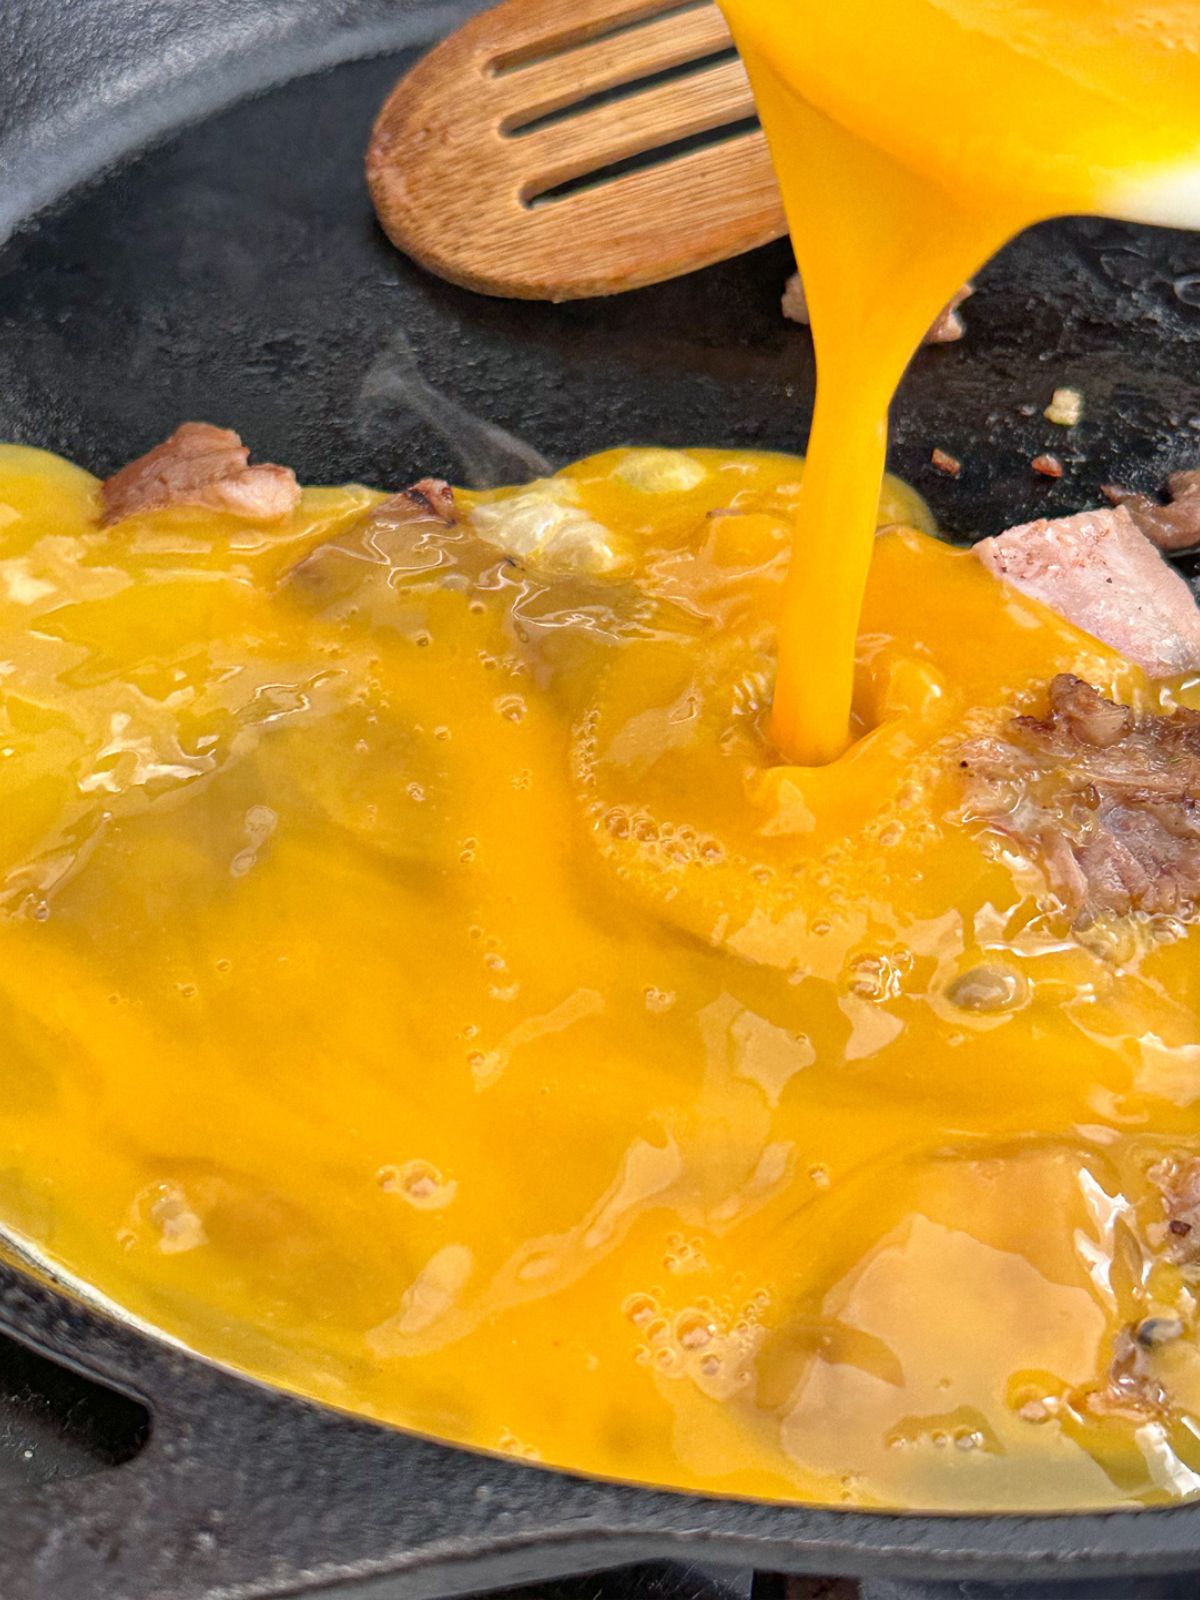
Step 3: Then, add whisked eggs and green onions to the pan. Scramble and cook for 30 seconds.
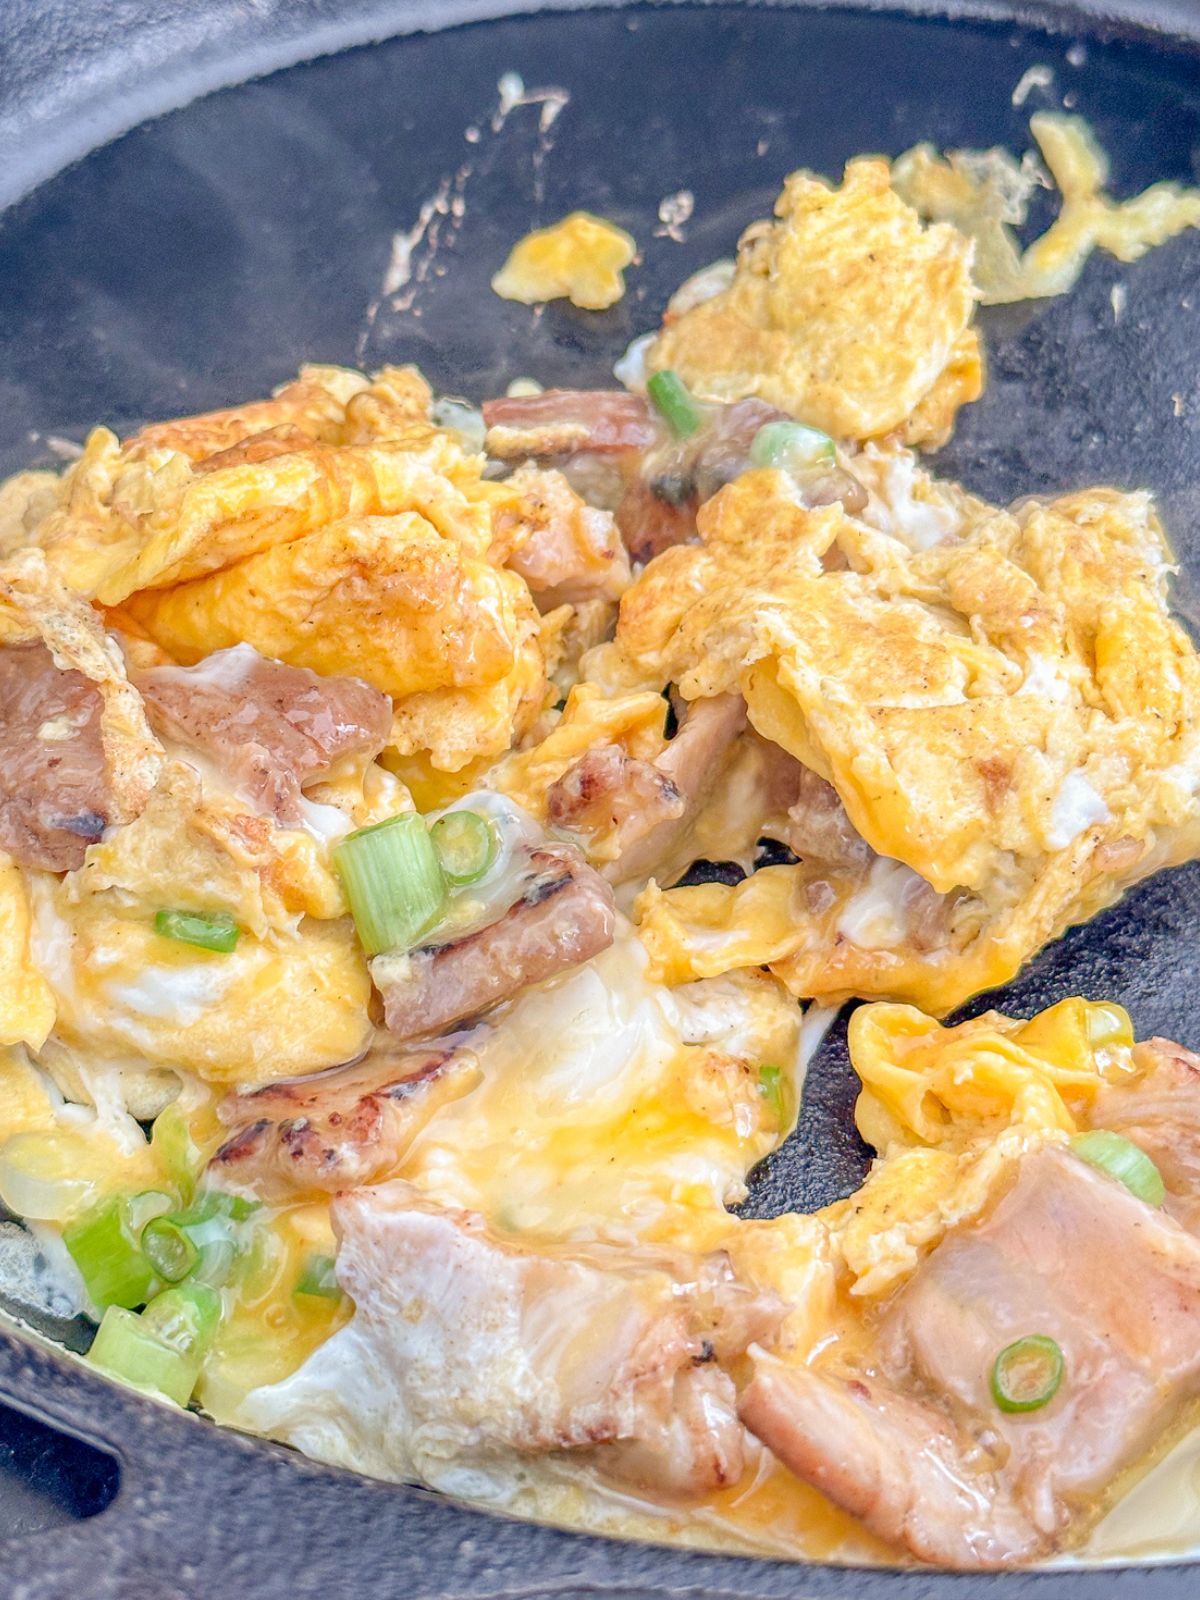
Step 4. The dish should take no longer than 3 minutes to cook. The longer we cook, the eggs & char siu will be overcooked and dry. Hope you enjoy this dish with a hot bowl of white rice.
Expert Tips
- Scramble the eggs for no more than 30 seconds to 1 minute. If you cook the eggs longer than 1 minute, the eggs are not as soft and will have a drier texture.
- Use medium low heat to cook the eggs. This creates a super soft texture and cooks them slowly. High heat will overcook the eggs easily.
- Use Chinese chives for exceptional and savory flavor!
Recipe FAQs
Your best option for making this vegetarian is to simply leave out the char siu when preparing it. You may add more green onions and CHinese chives to make the eggs more flavorful!
Yes! I recommend to use shrimp or chicken for the best taste. However, the cha siu (bbq pork) would yield the best taste for this recipe.
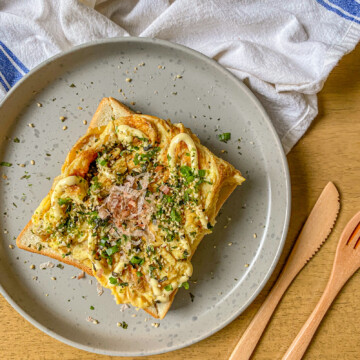
Serve this immediately while hot with white rice. You can also serve this with rice cakes with vegetables, Chinese Eggplant with Garlic Sauce and a nice wood ear mushroom salad!
More Delicious Chinese Homecooked Dishes
- Jalapeno and Garlic Sauce – add this on top of rice and noodles for a spicy and savory flavor
- Chinese Steamed Eggs – delicious and succulent silky egg dish that goes great with white rice
- Chinese Stuffed Peppers – flavorful shrimp and pork filled peppers that are pan-fried to perfection!
Did you try this recipe? Leave a ⭐️ rating below and share it on Instagram, Facebook, and Pinterest!
Chinese Scrambled Eggs with Char Siu
Ingredients
- ¼ pound bbq pork (char siu) (6 inch piece)
- 3-4 stalks chinese chives (optional) sliced
- 1 green onion sliced
- 4 eggs
- ½ teaspoon salt
- ½ teaspoon chicken bouillon
- pinch of sugar
- 1 tablespoon avocado oil
Instructions
- Cut green onions and chives. Slice char siu in large or small cubes (up to you!). Set aside.
- Whisk 4 eggs with ½ teaspoon salt, ½ teaspoon chicken bouillon, and sugar. Set aside beaten eggs.
- Heat pan on low medium heat. Once hot, add 1 tablespoon avocado oil. Add bbq pork on the pan and fry for a minute or until you see the pieces golden.
- Immediately, add chinese chives and green onions to the pan. Then, add whisked eggs. Scramble and cook for 30 seconds.
- The dish should take no longer than 3 minutes to cook The longer we cook, the eggs & char siu will be overcooked and dry. Hope you enjoy!
Notes
- EXPERT TIPS
- Scramble the eggs for no more than 30 seconds to 1 minute. If you cook the eggs longer than 1 minute, the eggs are not as soft and will have a drier texture.
-
- Use medium low heat to cook the eggs. This creates a super soft texture and cooks them slowly. High heat will overcook the eggs easily.
-
- Use Chinese chives for exceptional and savory flavor!


Leave a Comment