
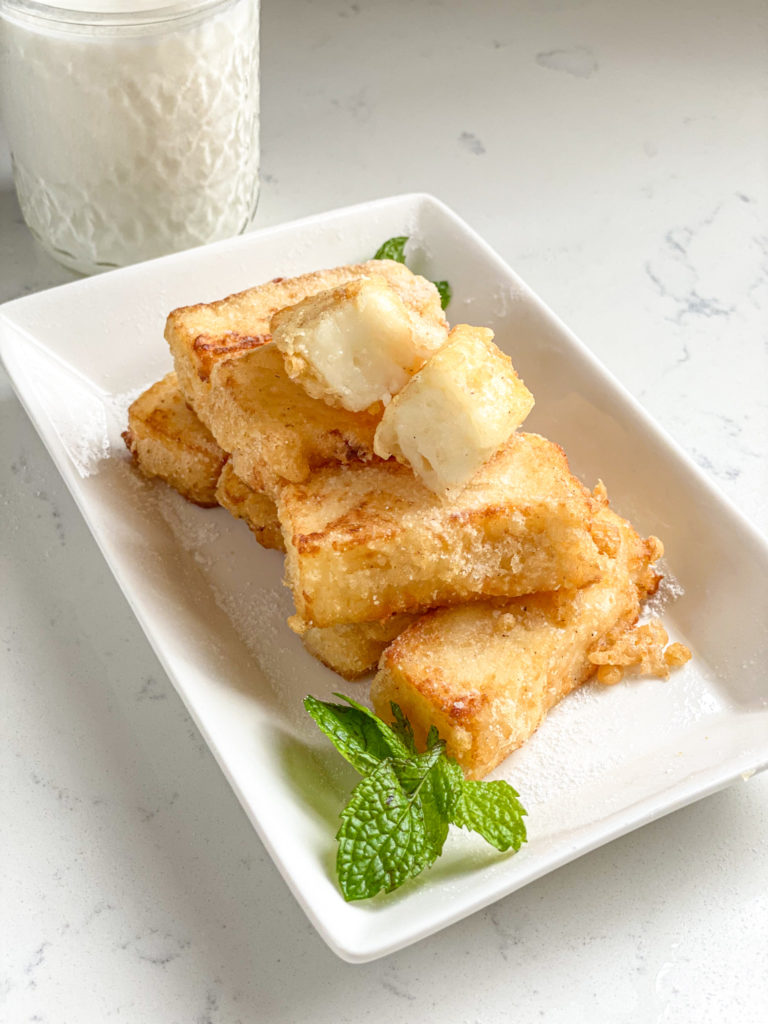
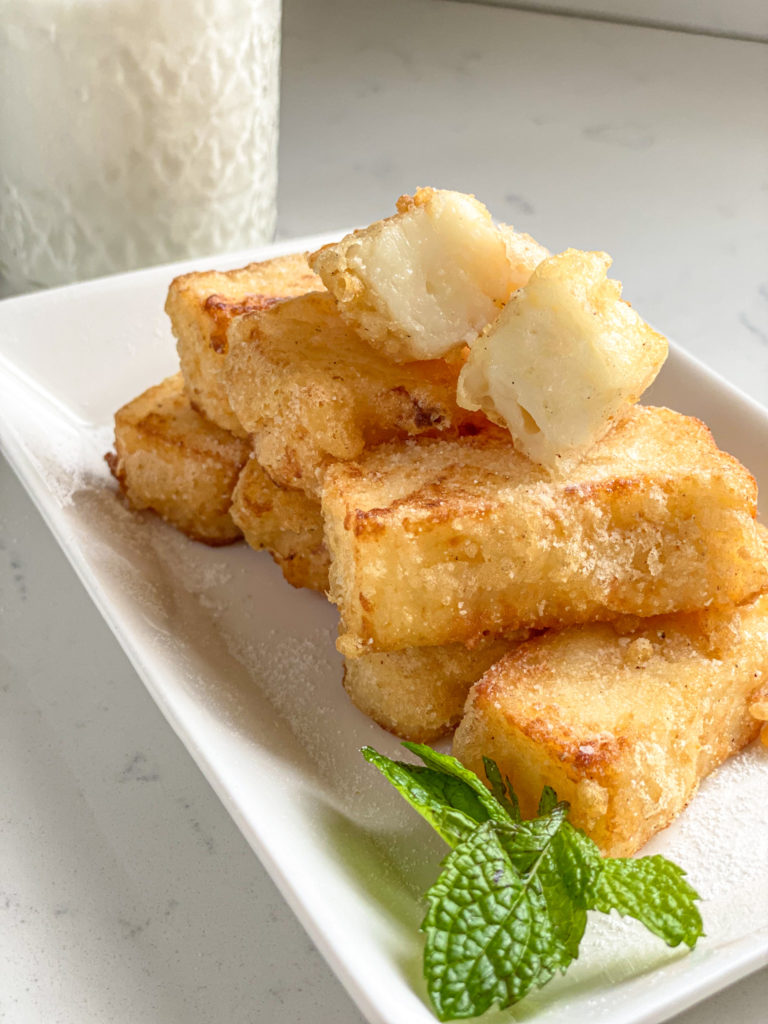
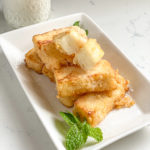
Deep fried milk is lightly crispy on the outside and is like custard on the inside. The dish is usually served at dim sum or cantonese restaurants. Making it at home is still really good and super fresh. This deep fried milk is a chinese & cantonese version, but I also heard the Spanish one is super delicious (but slightly different recipe).
Jump to:
What is deep fried milk?
Deep fried milk is made with cooking milk and cornstarch together. You will need to whisk the mixture on low heat until it has a thick consistency and then refrigerate for at least 4 hours. Then you slice and dip in the batter to fry. The batter here is light & crispy – made of rice flour. If you like extra crispy deep fried milk, I recommend using panko bread crumbs. That method is made from dipping the refrigerated milk mixture in flour, beaten eggs and panko bread crumbs (in that order). After battering, you will fry in oil for a few minutes until golden brown. Hope you enjoy this dessert!
If you’re looking for more delicious Chinese desserts, check out my Snow Skin Mooncakes and One Pot Red Bean Soup in Rice Cooker.
INGREDIENTS YOU NEED FOR YOUR DEEP FRIED MILK:
Milk Mixture:
- milk
- corn starch
- condensed milk
- sugar
- vanilla
Batter:
- corn starch
- rice flour or all purpose flour (rice flour makes it a little more crispy!)
- baking powder
- salt
- ice cold water
- oil
Frying:
- corn oil
Garnish:
- powdered sugar
STEPS TO MAKE THE DEEP FRIED MILK:
- In a pot, add ½ cup corn starch, 2 cups milk, 2 tablespoons condensed milk, 1 tablespoon sugar, and 1 teaspoon vanilla. Place pot on the stove and turn to medium heat. Start mixing everything together by whisking continuously until there are no clumps. Then, stir occasionally so the corn starch is not stuck at the bottom. Once the mixture has thickened (takes 5-6 minutes), take it off the fire. Note: I recommend a stainless steel pan for this step so you don’t scratch your pots/pans.
- Line your container (6×6 or 8×8 inches works best) with parchment paper. Add the milk mixture in the container and spread evenly. Cover the milk mixture with leftover parchment paper on top. Note: Cover the top so the water moisture doesn’t get inside (this part will make it watery). Cover with a lid and refrigerate for a minimum of 4 hours or overnight.
- After refrigeration, take the milk out of the fridge. Remove the top parchment paper only and place a cutting board on top of the container. Gently flip the container upside down and remove the back of the parchment paper. Slice in 2 inches long and one inch width pieces.
- To make the batter, mix 2 tablespoon cornstarch, 2 tablespoon rice flour, 1 teaspoon baking powder, pinch of salt, ½ cup ice cold water, and 1 teaspoon oil until there are no clumps. This makes a crispy and light batter. Note: If you want a crispier batter, I recommend doing the panko bread crumb method! You can do this by coating milk with flour, eggs, then panko bread crumbs ◡̈
- Heat corn oil to 350 degrees Fahrenheit. Once the oil is hot, gently coat the milk with the batter mixture. Gently drop the milk in the oil and fry for 2-3 minutes until golden brown. The closer you are when you’re dropping the milk to the oil, the less splatter there will be.
- Let the fried milk rest on a paper towel or wire rack and pat the oil off so its less oily! Let it cool down for a few minutes before eating. You can also dust powdered sugar on top for little bit of sweetness. Hope you enjoy.
More Delicious Dessert Recipes
- Fried Mantou – Chinese steamed buns with condensed milk.
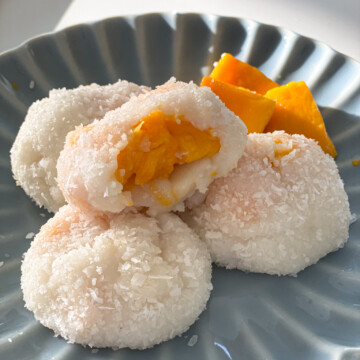
- Strawberries & Cream Mochi – a delicious and soft dessert made with melona ice cream and mochiko flour!
- No-Bake Cheesecake With Pineapple – whipped cheesecake layered with grilled pineapple chunks.
Did you try this recipe? Leave a ⭐️ rating below and share it on Instagram, Facebook, and Pinterest!
Deep Fried Milk
Ingredients
milk mixture
- 2 cups milk
- ½ cup corn starch
- 2 tablespoon condensed milk
- ½ tablespoon sugar
- 1 teaspoon vanilla extract
batter:
- 2 tablespoon corn starch
- 2 tablespoon rice flour or all-purpose flour
- 1 teaspoon baking powder
- pinch of salt
- ½ cup ice cold water
- 1 teaspoon oil
frying
- 2 cups corn oil
garnish
- powdered sugar
Instructions
- In a pot, add ½ cup corn starch, 2 cups milk, 2 tablespoons condensed milk, 1 tablespoon sugar, and 1 teaspoon vanilla. Place pot on the stove and turn to medium heat. Start mixing everything together by whisking continuously until there are no clumps. Stir occasionally so the corn starch is not stuck at the bottom. Once the mixture has thickened (takes 5-6 minutes), take it off the fire. Note: I recommend a stainless steel pan for this step so you don’t scratch your pots/pans.½ cup corn starch, 2 tablespoon condensed milk, ½ tablespoon sugar, 1 teaspoon vanilla extract
- Line your container (6×6 or 8×8 inches works best) with parchment paper. Add the milk mixture in the container and spread evenly. Cover the milk mixture with leftover parchment paper on top. Make sure the top is covered so the water moisture doesn’t get inside (this part will make it watery). Cover with a lid and refrigerate for a minimum of 4 hours or overnight.
- After refrigeration, take the milk out of the fridge. Remove the top parchment paper only and place a cutting board on top of the container. Gently flip the container upside down and remove the back of the parchment paper. Slice in 2 inches long and one inch width pieces.
- To make the batter, mix 2 tablespoon cornstarch, 2 tablespoon rice flour, 1 teaspoon baking powder, pinch of salt, ½ cup ice cold water, and 1 teaspoon oil until there are no clumps. This makes a crispy and light batter. Note: If you want a crispier batter, I recommend doing the panko bread crumb method! You can do this by coating milk with flour, eggs, then panko bread crumbs ◡̈2 tablespoon corn starch, 2 tablespoon rice flour, 1 teaspoon baking powder, pinch of salt, ½ cup ice cold water, 1 teaspoon oil
- Heat corn oil to 350 degrees Fahrenheit. Once the oil is hot, gently coat the milk with the batter mixture. Gently drop the milk in the oil and fry for 2-3 minutes until golden brown. The closer you are when you’re dropping the milk to the oil, the less splatter there will be.2 cups corn oil
- Let the fried milk rest on a paper towel or wire rack and pat the oil off so its less oily! Let it cool down for a few minutes before eating. You can also dust powdered sugar on top for little bit of sweetness. Hope you enjoy.
Video
@cookwithdana Who is the genius behind fried milk? i’m loving the custard texture and crispy wafer exterior ☺️ #milk #dessert #learnontiktok #tiktokpartner
♬ Strangely beautiful piano instrumental song – INOSHIN


דירות דיסקרטיות בתל אביב-israelnightclub says
Everything is very open with a really clear clarification of the issues. It was truly informative. Your site is very helpful. Many thanks for sharing!