
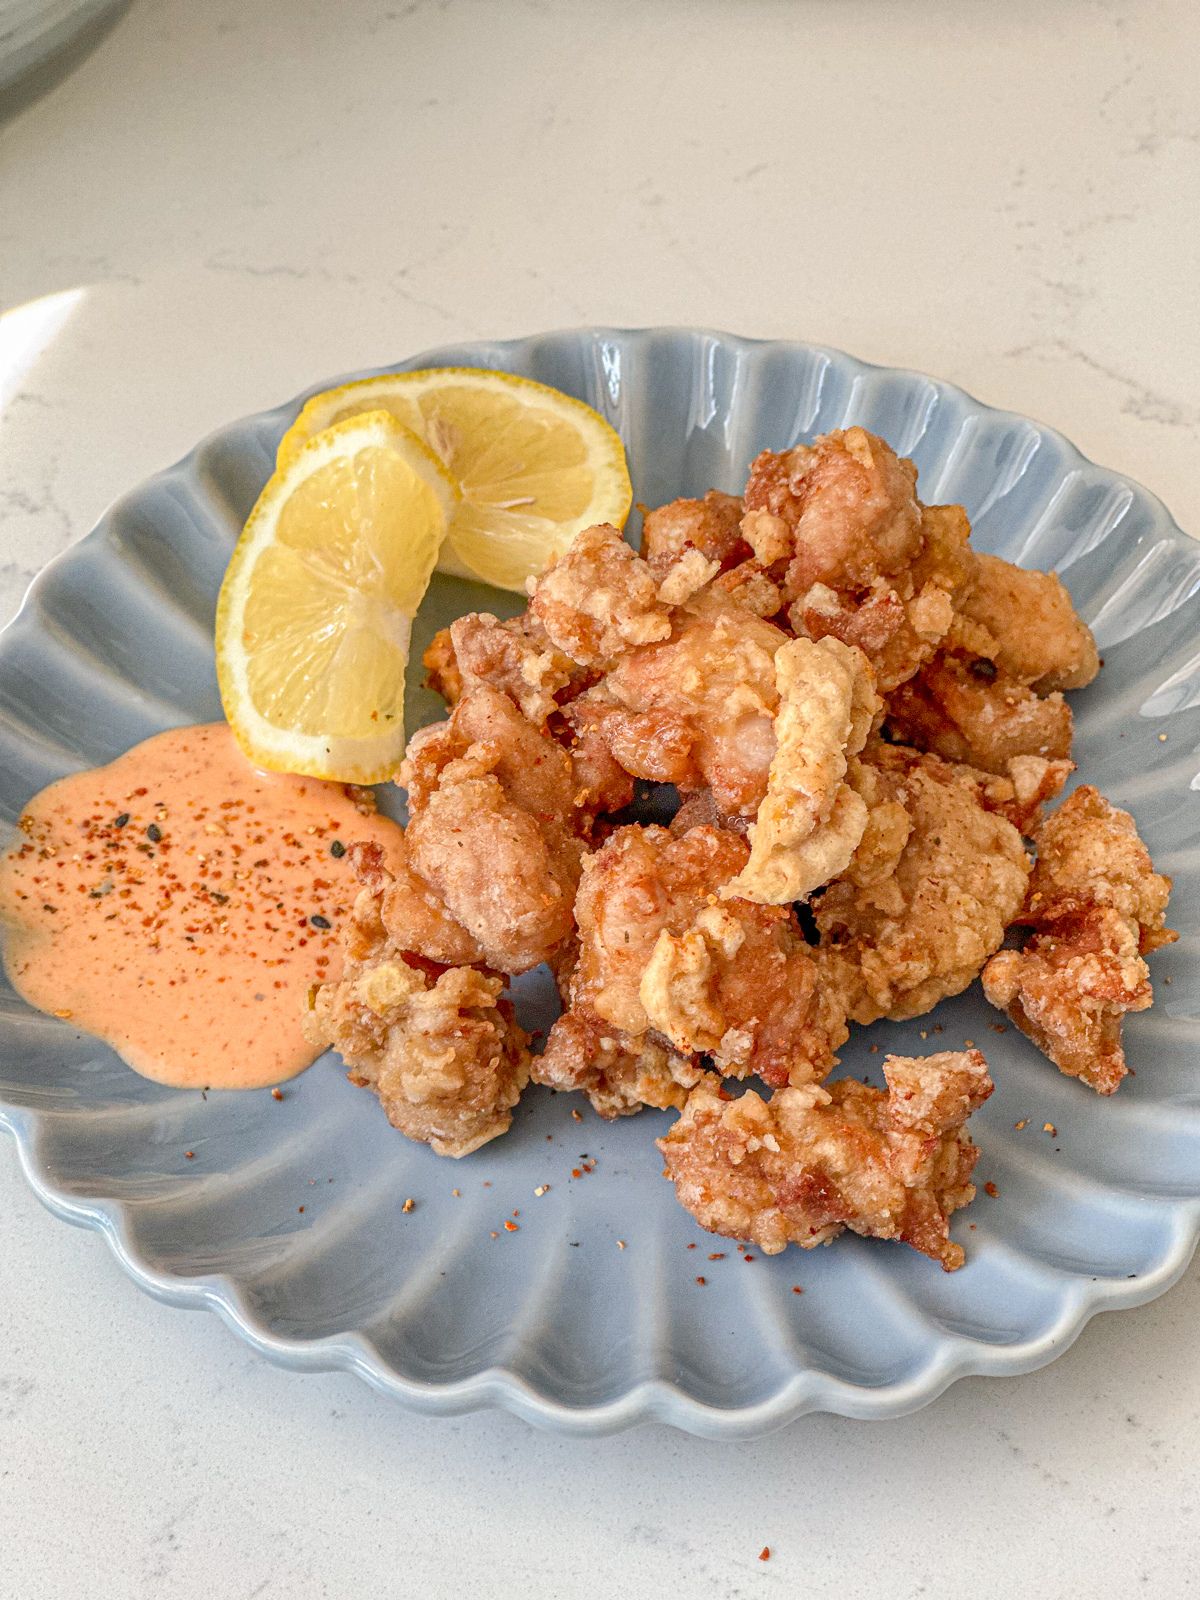
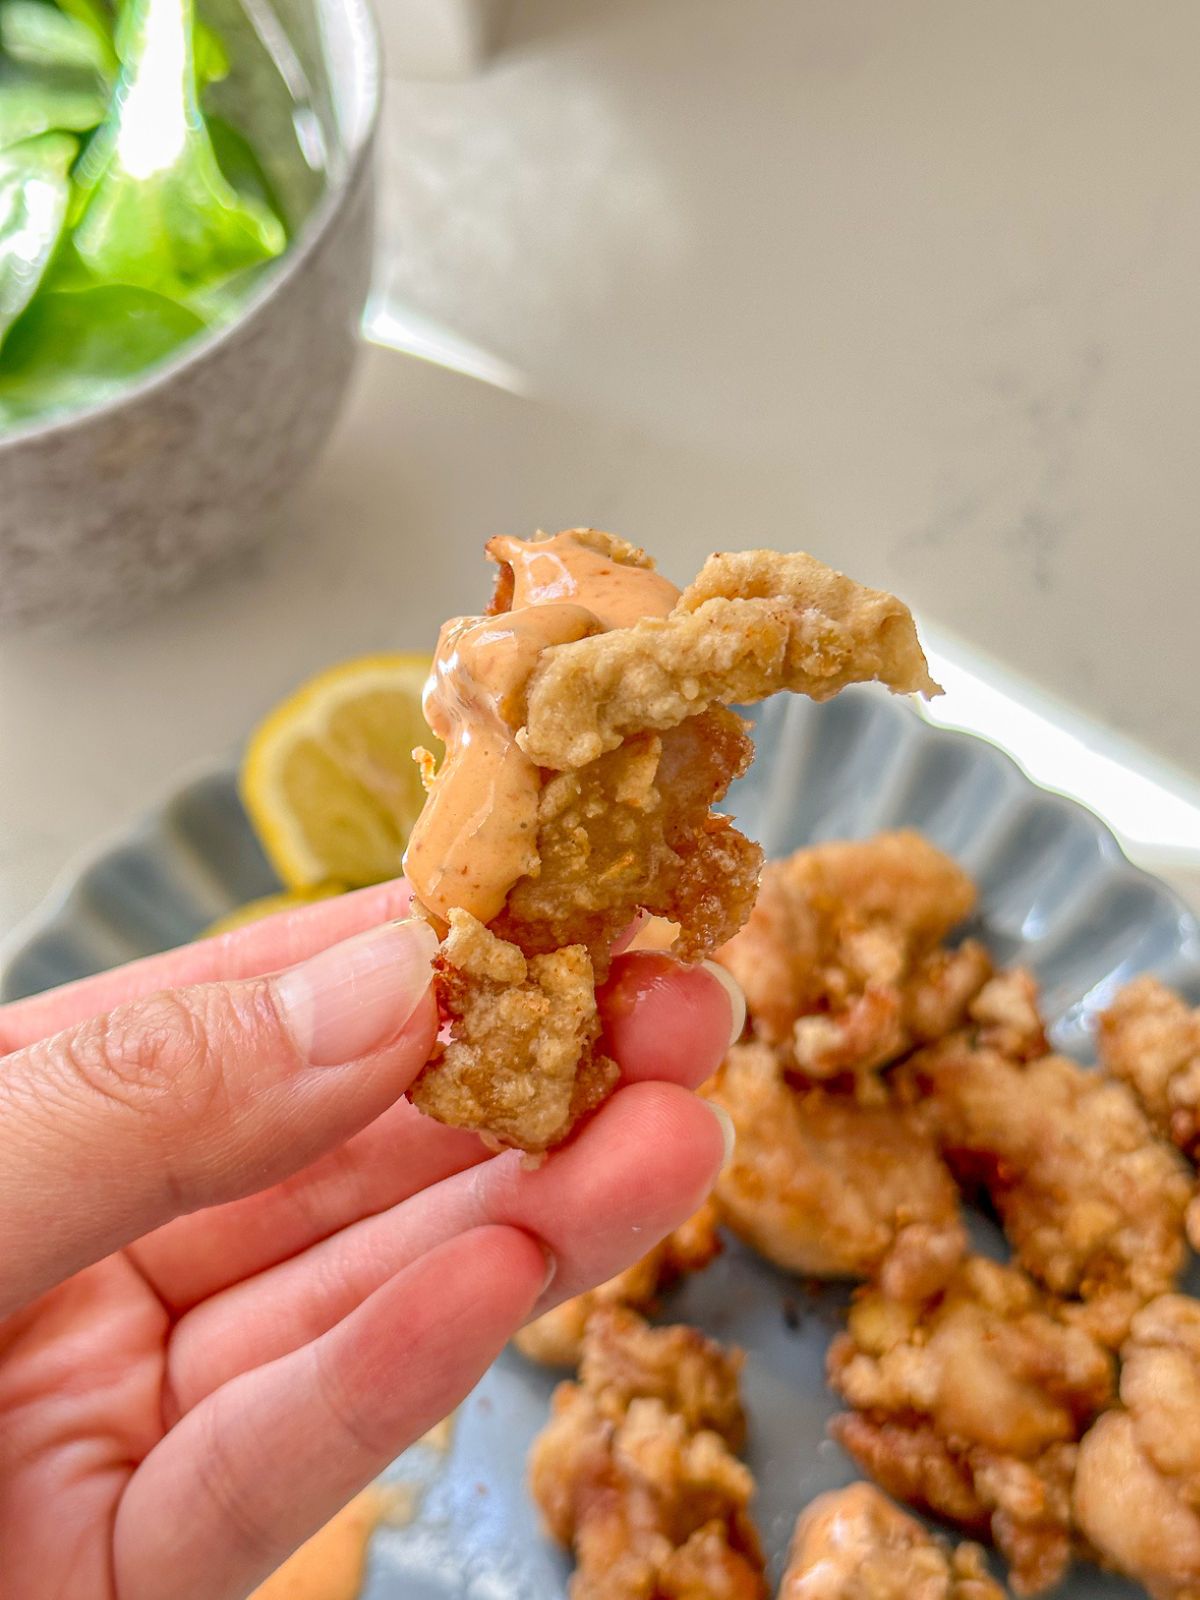
Chicken Karaage is a style of Japanese Fried Chicken that cooks up so crispy and flavorful thanks to a simple marinade and potato starch which gives it extra crunch. I’m pairing it with a creamy spiced dipping sauce for a snack or easy meal.
Jump to:
Why You Will Love This Karaage Chicken Recipe
- Flavorful and Crispy. It all starts with tender pieces of chicken marinated in a simple marinade of sake and soy sauce and then the chicken is coated with flour and potato starch, to give it some crunch.
- Perfect for Snacking or Meals. This dish can be used for a meal but also served as an easy-to-eat snack for a gathering of friends and family.
- Easy to Make. It may sound like a lot of work to make Japanese fried chicken but I promise you it’s easier than you think!
What is Karaage?
Karaage refers to a style of breading and frying meat in hot oil. It most commonly is made with chicken though other types of meat can also be prepared the same way. What makes it different from tempura, another fried Japanese dish is that the meat is marinated before being lightly coated in a combination of flour and potato starch.
There are a wide range of regional variations of this fried chicken dish which may feature a different marinade or karaage dipping sauce. It’s often sold in fast food locations and food stalls in Japan.
If you like fried chicken, you can try my other recipes: Soy Garlic Korean Fried Chicken, Salted Egg Fried Chicken Wings, Air Fryer Korean Chicken Wings, and Air Fryer Taiwanese Popcorn Chicken.
Ingredients
Here’s a look at what you need to make Japanese karaage chicken at home. The highlights are here but the full ingredient list and quantities of each are in the recipe card.
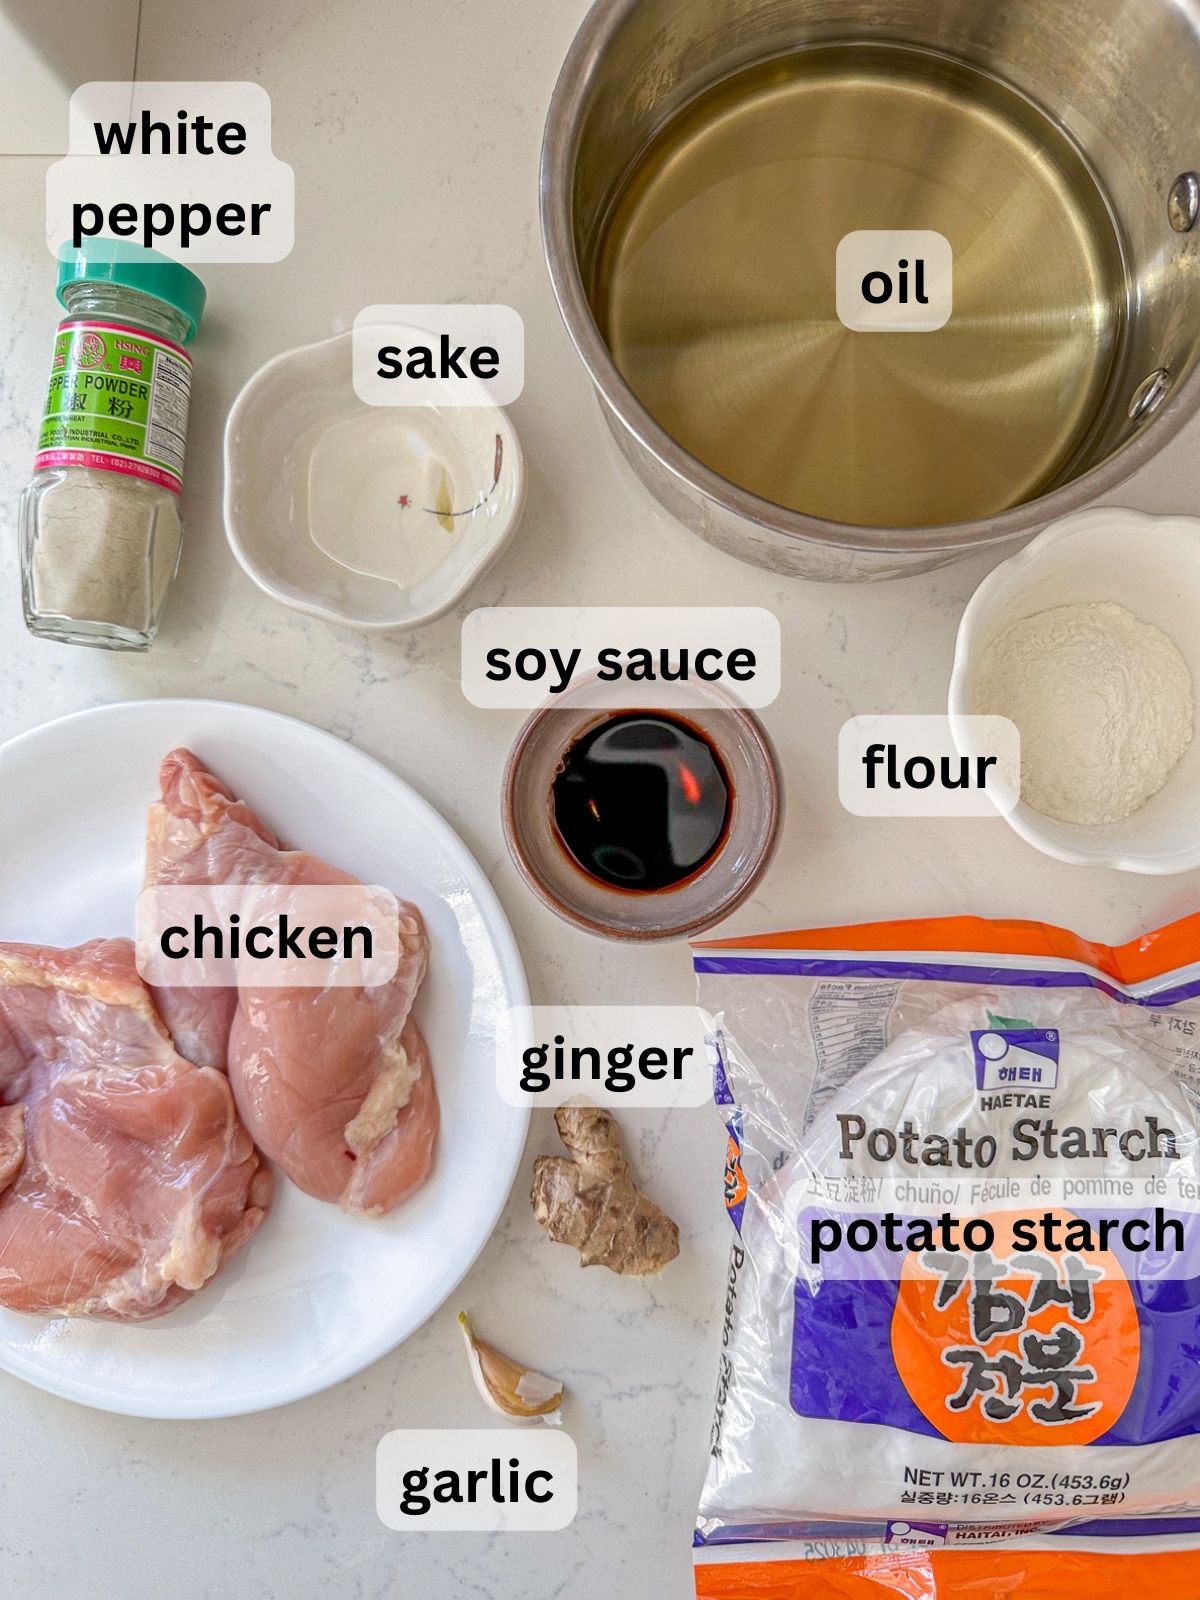
- Boneless chicken thigh: Chicken thigh meat cooks up juicier and more flavorful than chicken breast. I highly recommend using skin-on boneless chicken because it tastes more delicious!
- Sake: This Japanese rice wine can be found in most well-stocked grocery stores or an Asian market. If you can’t find it you can also swap it for white wine.
- Soy sauce: Adds saltiness and savoriness to the chicken.
- White pepper: We’re adding this for flavor. The white pepper is slightly less peppery than black but you can sub with black pepper for ease if preferred.
- Garlic and ginger: Adds the perfect amount of aromatic flavors to the karaage chicken marinade.
- All-purpose flour and potato starch: These two ingredients combine to make your karaage fried chicken very crispy. If you don’t have potato starch you can use cornstarch instead.
- Vegetable oil: Choose a neutral flavored oil that’s suitable for frying.
Karaage Chicken Sauce Ingredients
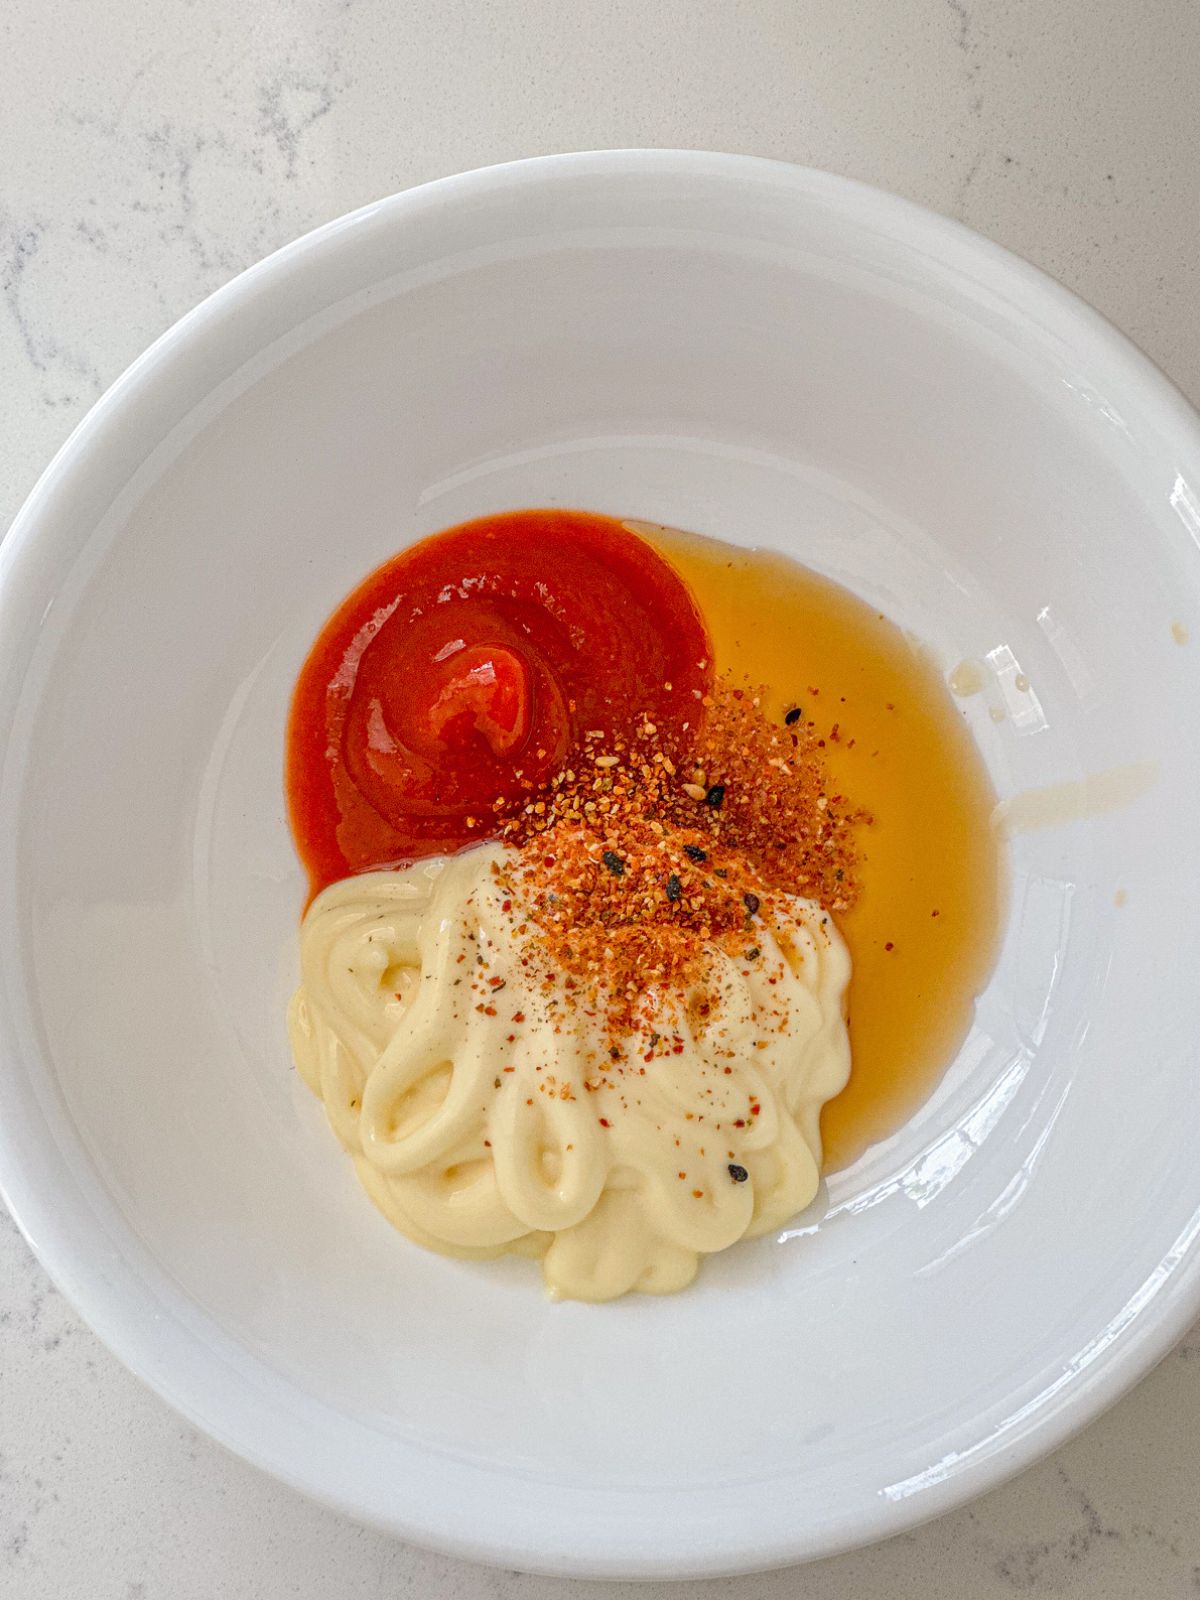
The karaage sauce is optional but I find it enhances the flavor so much!
- Sesame oil: Brings out the flavor of the sriracha and adds fragrance to the sauce,
- Kewpie mayo: This style of mayonnaise is made with whole eggs which gives it a richer texture and flavor. You can also use regular mayonnaise but will use the velvety texture of the kewpie mayo.
- Sriracha hot sauce: Mix this in with the kewpie mayo for extra spice and garlic flavor.
- Togarashi: A Japanese 7 spice blend that’s spicy and complex in its flavors. You can find it in most Asian markets or purchase it online. You can substitute this with sesame seeds as well!
How to Make Karaage
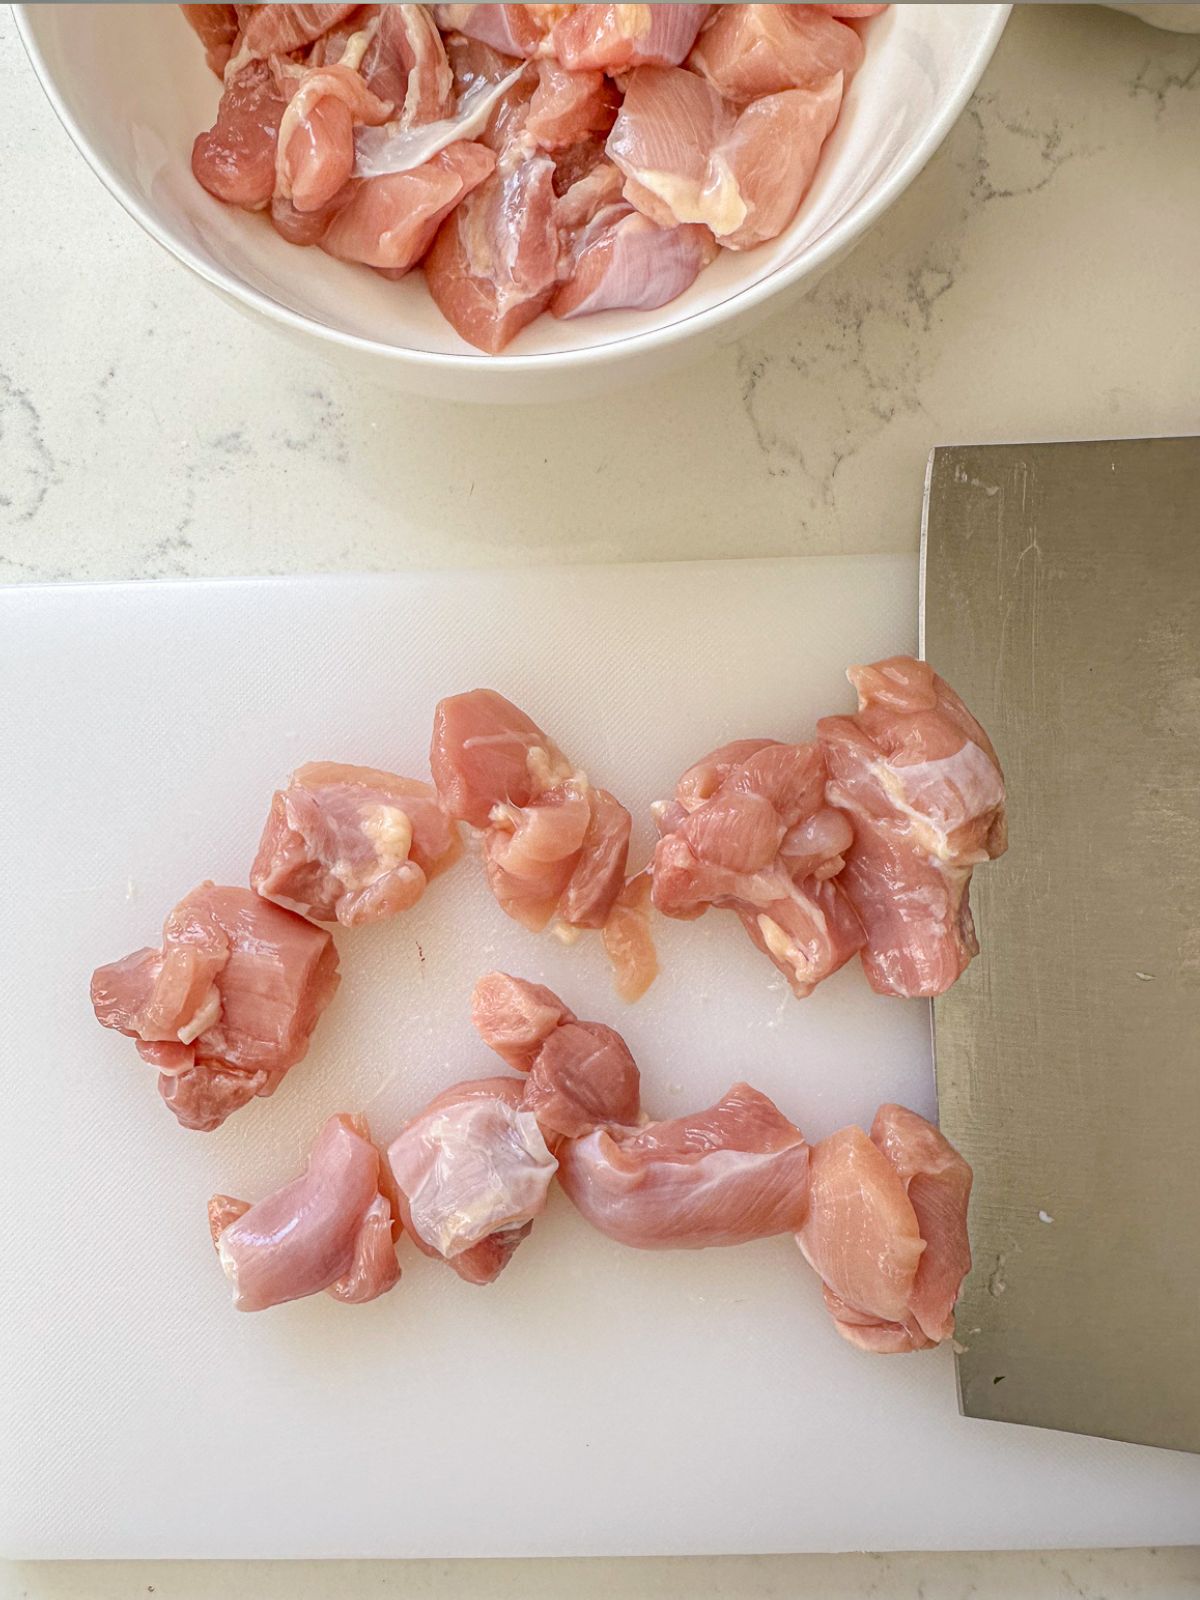
Step 1. Cut the chicken thighs into 1-inch pieces (cut them in two inch pieces if you like larger pieces of chicken!) and place them in a bowl.
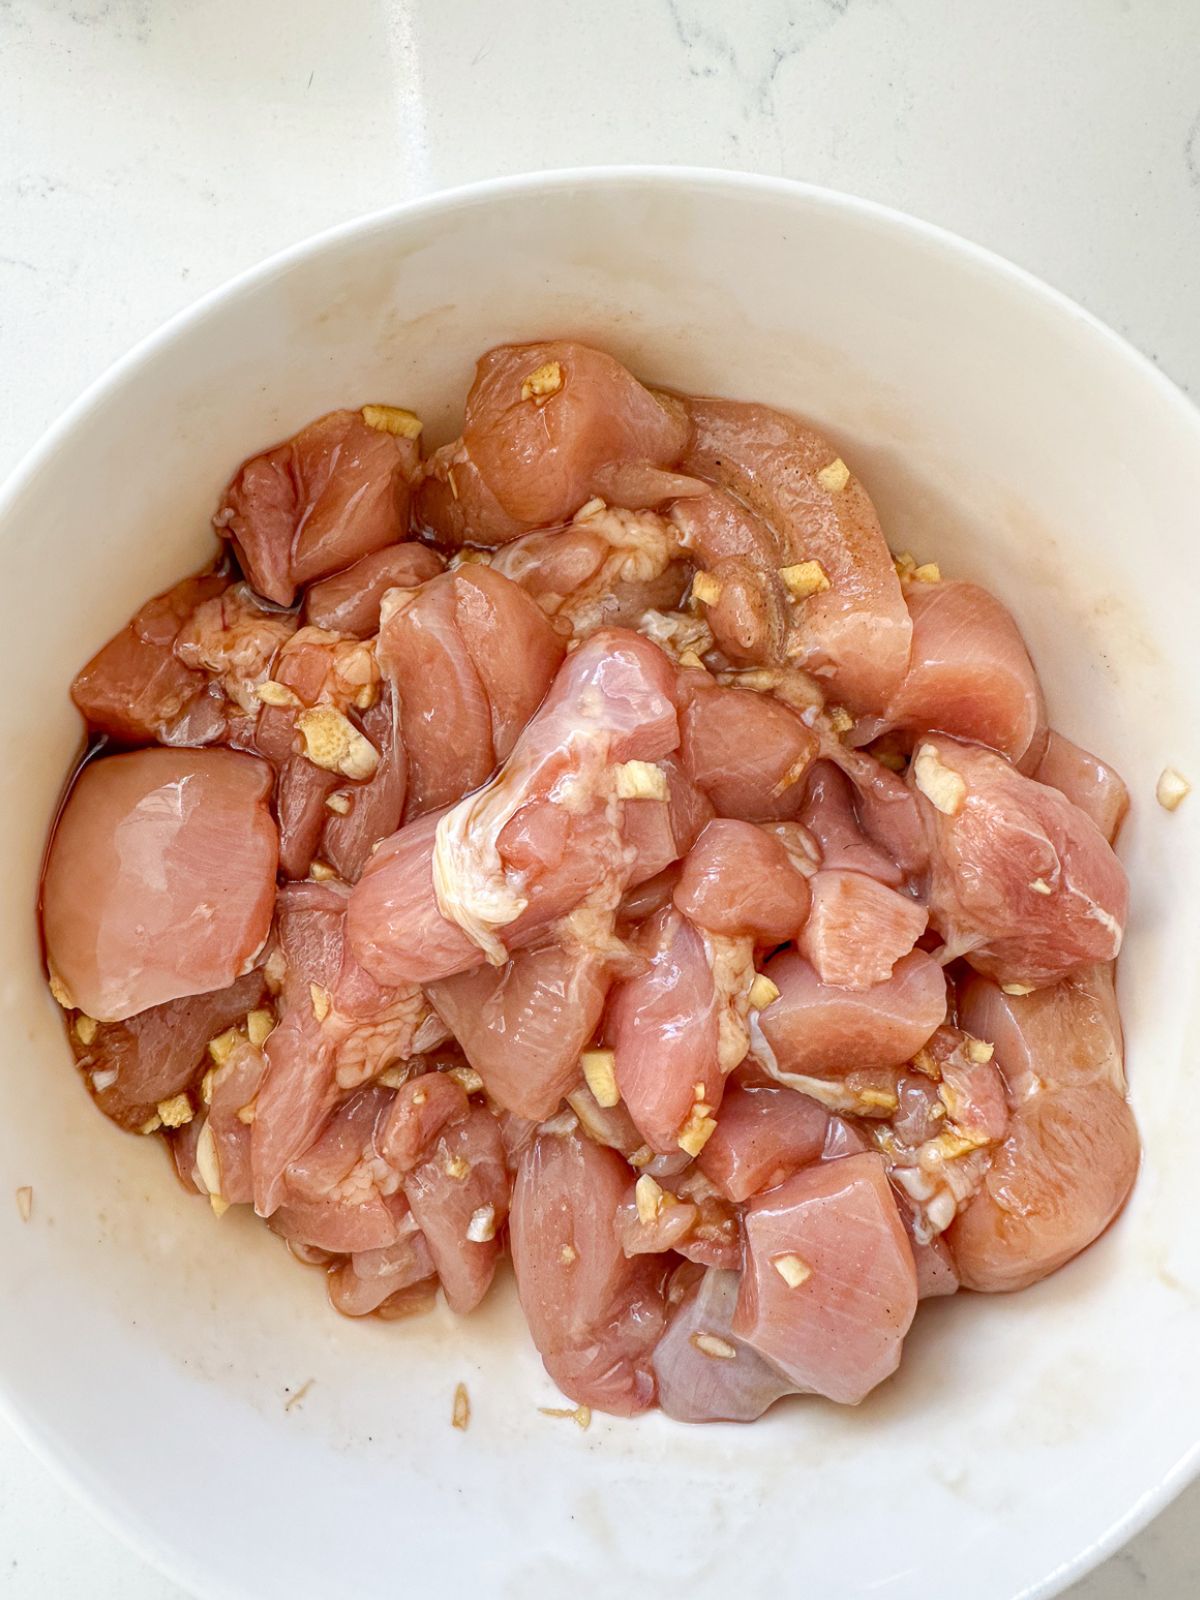
Step 2: Add the sake, soy sauce, white pepper, garlic, and minced ginger to the chicken and mix well.
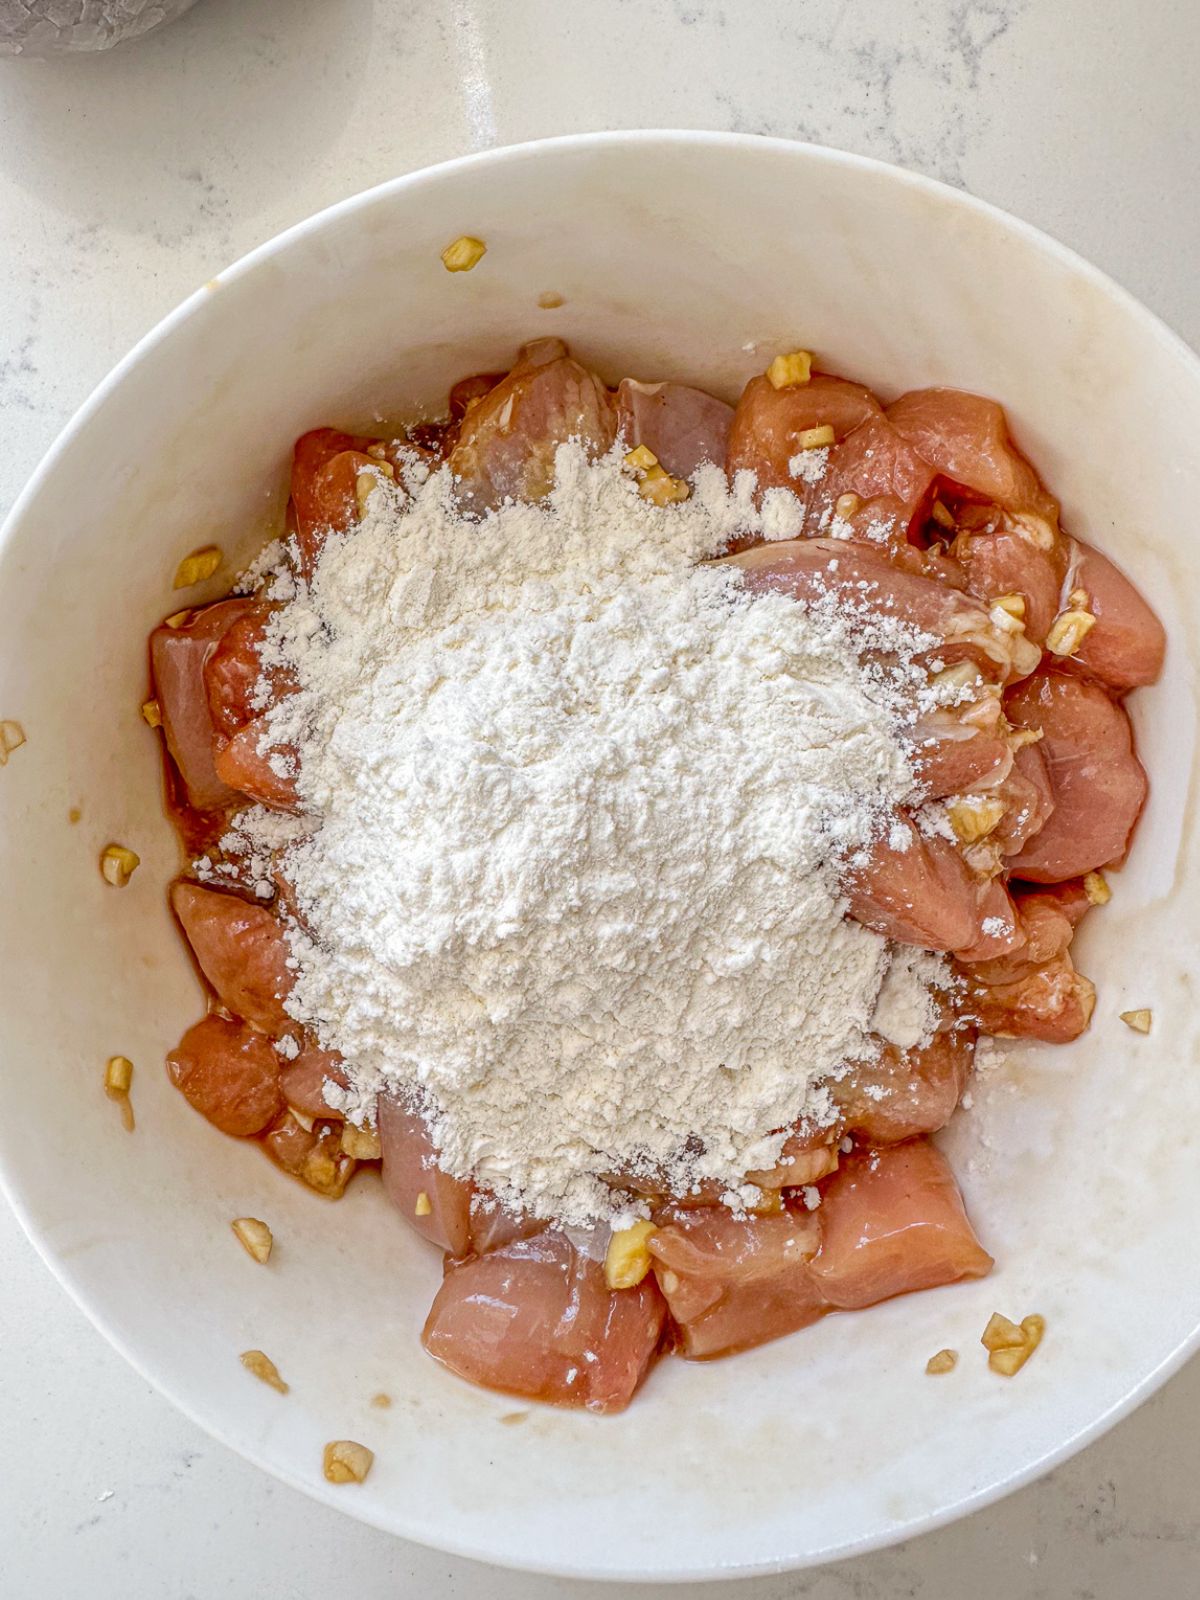
Step 3. Place the all-purpose flour in the chicken and mix well.

Step 4. Then, add potato starch to the chicken and mix well to ensure all the chicken is coated and the batter is sticky!
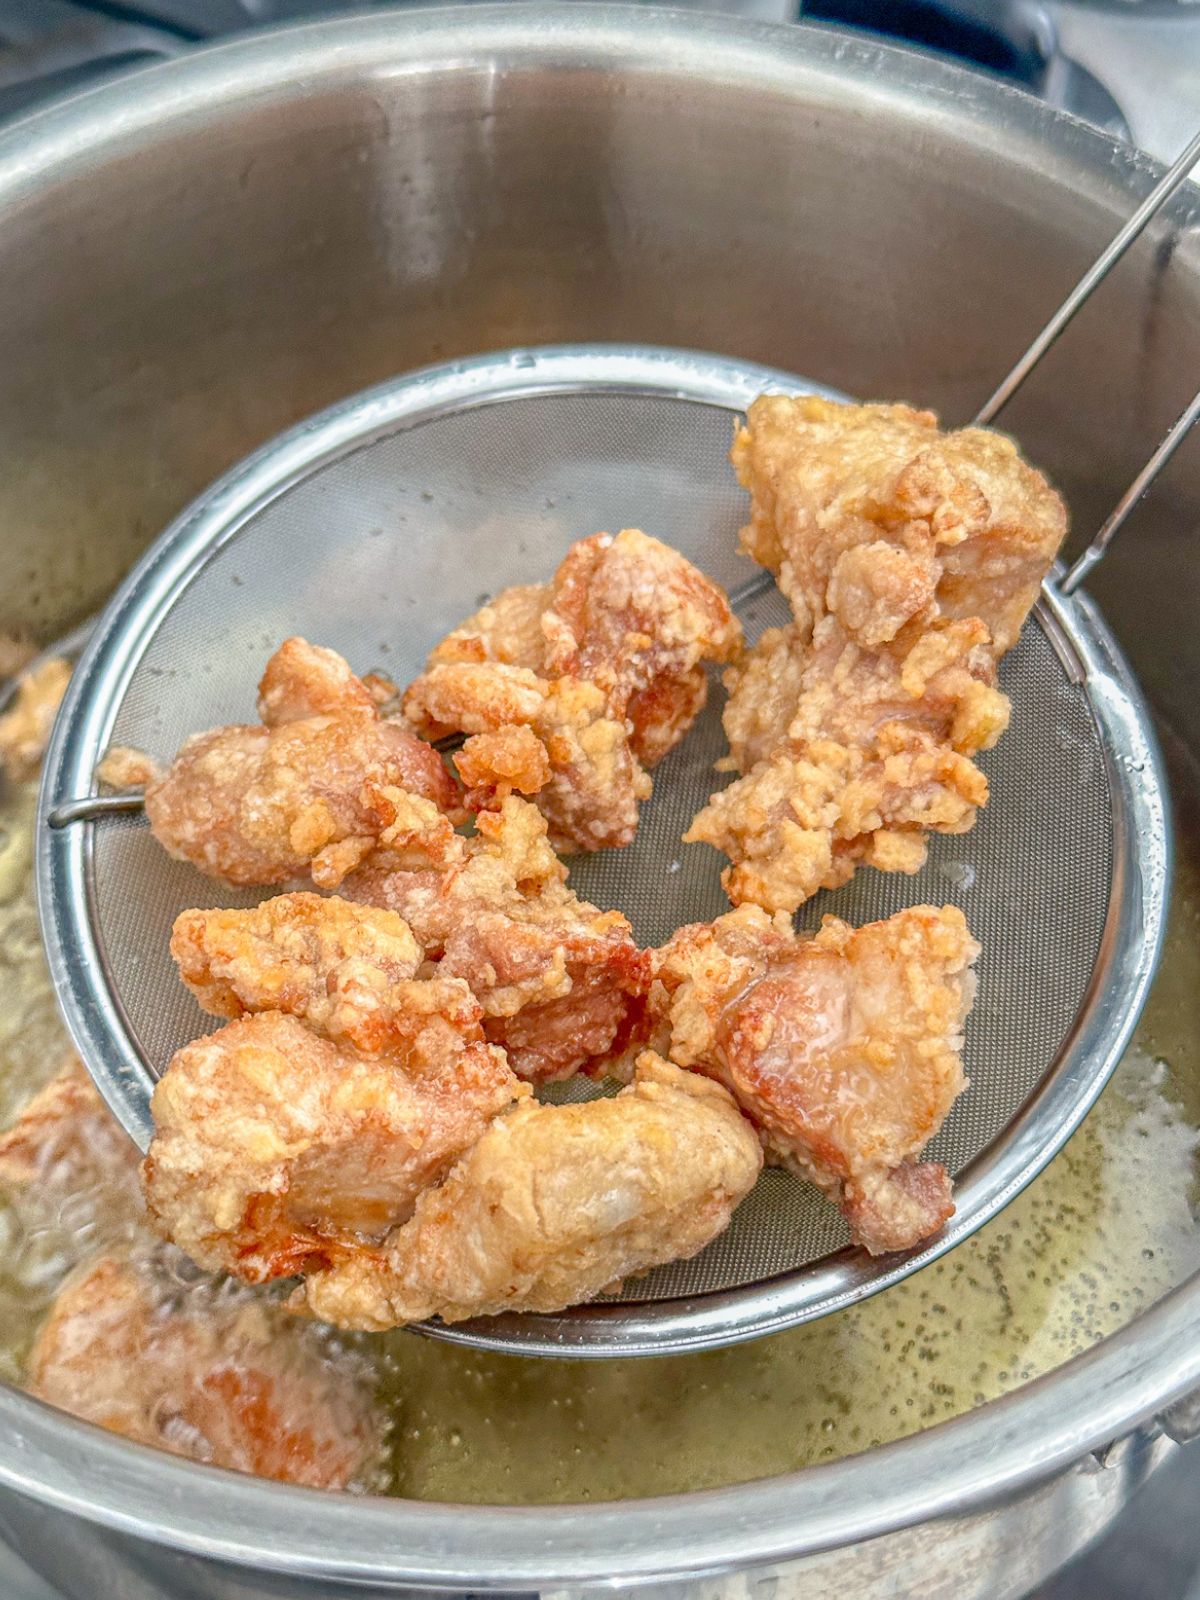
Step 5. Heat the oil in a pot until it’s 350 degrees Fahrenheit. Add the chicken and fry for 5-6 minutes. When the chicken is done it should be a golden color and float to the top.
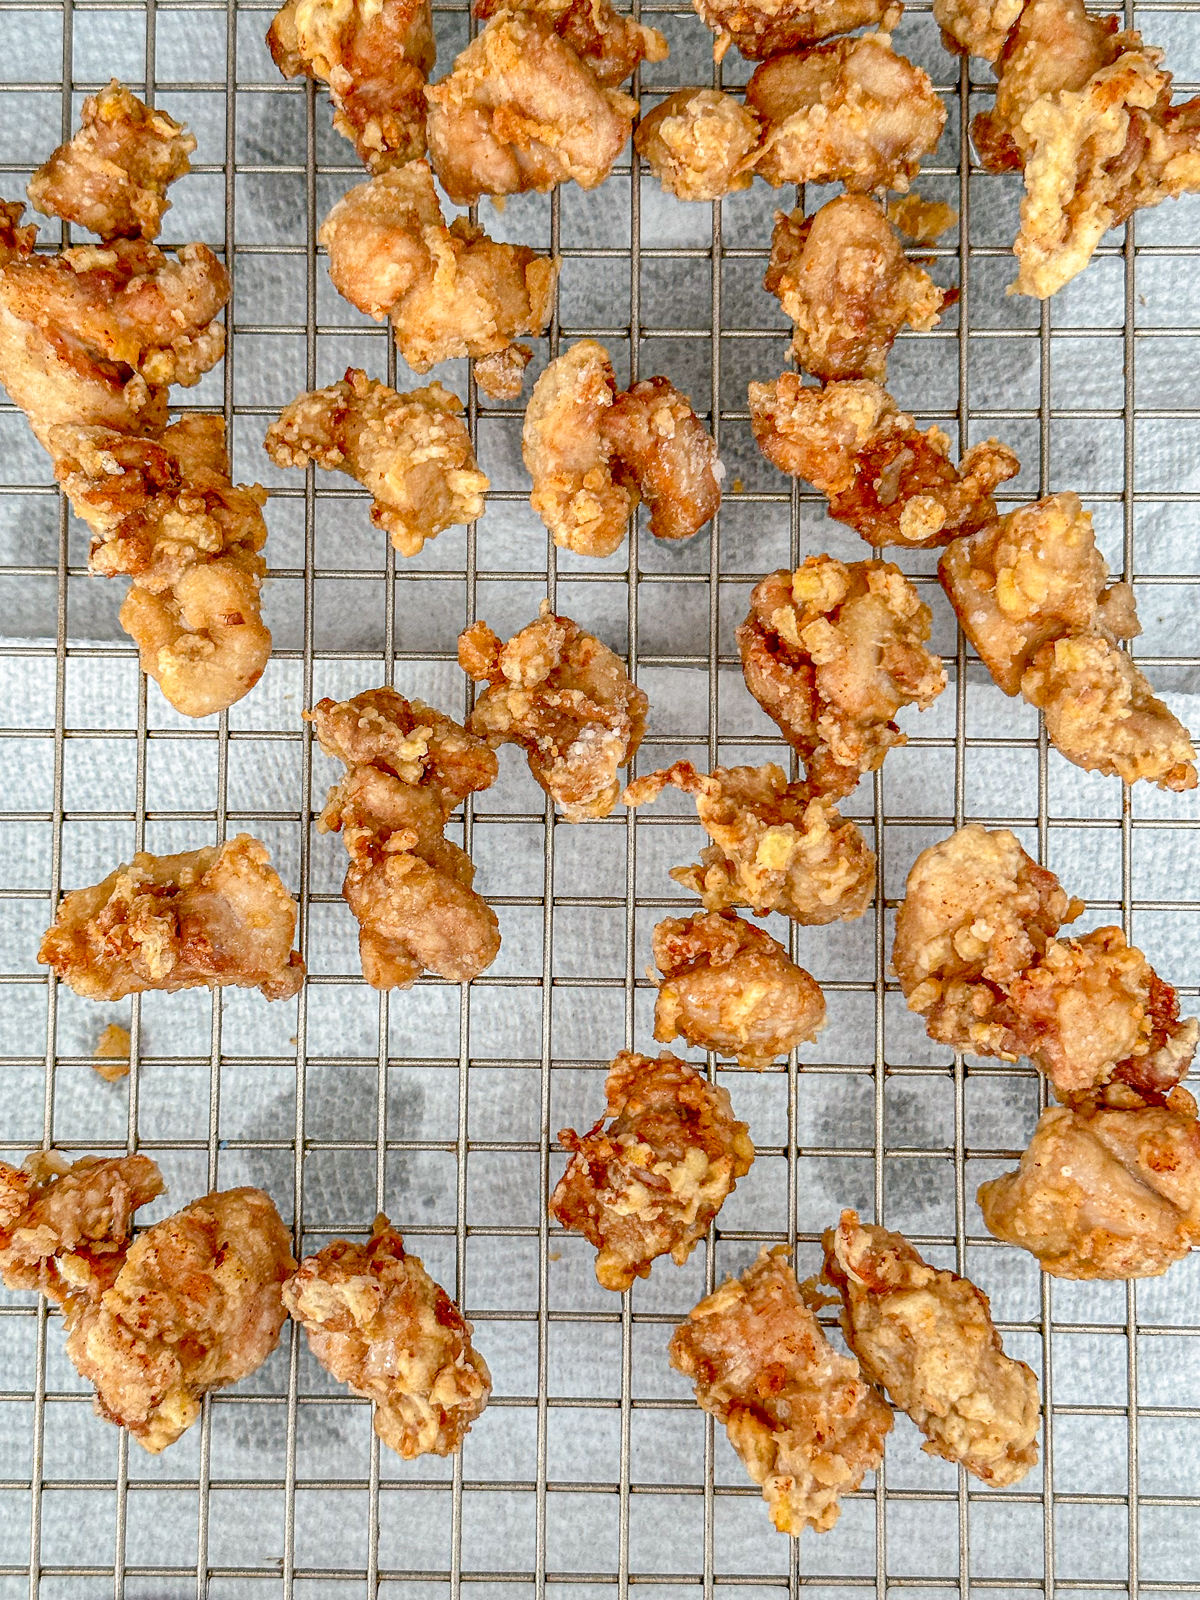
Step 6. Rest the chicken on a paper towel or wire rack to cool for 2 minutes.
PRO TIP: If you like extra crispy chicken, you can fry the chicken in the oil again (after cooling). If you do this step, turn up the heat so the oil is at 425 degrees and fry for 1-2 minutes.
Step 6. Mix together the kewpie mayo with the sriracha, sesame oil and togarashi. Serve the chicken with some freshly squeezed lemon juice and dip karaage in the sriracha mayo dipping sauce for an explosion of flavor!
Expert Tips
- Make Sure Your Oil is Hot. It’s important the oil is hot so that your chicken stays crispy. You can check it with a thermometer or simply add a pinch of flour to the oil and if it bubbles right away it’s ready.
- Don’t Overcrowd the Pot. Depending on the size of your pot you may need to cook the chicken in batches. Adding too much chicken at one time can cause the temperature of the oil to drop.
- Give It Time to Marinate. For a more flavorful chicken, you want to give it time to allow the flavors to absorb into the chicken.
Recipe FAQs
There are some recipes out there using tofu or other meat substitutes. Personally, I would recommend finding a recipe that specifically uses these ingredients since these preparations may be different and you may need more flavors added to the substitute.
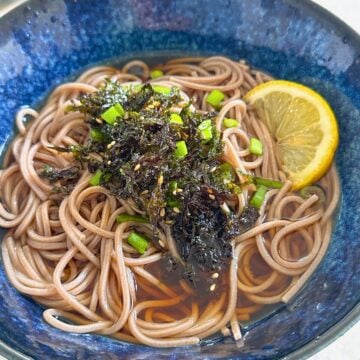
The chicken karaage goes well with white rice or on its own with some fresh lemon juice. I really love the creamy dipping sauce included here but of course, you can experiment with other karaage sauces like Japanese curry sauce. You might also consider serving it along with sesame seaweed salad. For parties or groups, you can serve it up with a variety of easy-to-eat foods such as chicken yakitori, inari tofu sushi, Japanese mentaiko udon and grilled rice balls.
More Japanese Recipes
- Chicken Yakitori (Air Fryer & Oven) – juicy chicken thighs marinated in an easy sweet and savory sauce and cooked in the air fryer (or the oven).
- Katsudon (Pork Cutlet Rice Bowl) – crispy fried pork cutlets simmered in a delectable dashi sauce.
- One Pot Mushroom Rice in Rice Cooker – inspired by a Japanese recipe, the bamboo adds a nice crisp texture in contrast to the soft and chewy mushrooms.


Did you try this recipe? Leave a ⭐️ rating below and share it on Instagram, Facebook, and Pinterest!

Karaage Chicken (Japanese Fried Chicken)
Ingredients
- 1 pound chicken thigh (skin-on is more delicious!) cut in 1 inch pieces
- 1 tablespoon sake (can sub with white wine)
- 1½ tablespoon soy sauce
- ½ teaspoon white pepper can sub with black pepper
- 1 garlic clove minced
- 1 inch ginger minced
- 3 tablespoon all-purpose flour
- 3 tablespoon potato starch
- 1-2 cups canola oil for frying
- ¼ wedge lemon (optional) for garnish
sriracha mayo dipping sauce
- 3 tablespoons kewpie mayo
- 1 teaspoon sriracha or hot sauce of choice
- ½ tablespoon togarashi or toasted sesame seeds optional
- ½ teaspoon sesame oil
Instructions
- Cut boneless chicken thigh in 1 inch pieces and place in a bowl. Add sake, soy sauce, white pepper, minced garlic, and minced ginger to the chicken and mix well.
- Add all purpose flour to the chicken and mix well. Then, coat the chicken in potato starch. Make sure all the chicken is well coated.
- In a pot, add 1-2 cups of canola oil and heat the oil until 350 degrees Fahrenheit. Then, place the chicken in the oil and fry for 5-6 minutes until golden brown.
- Rest chicken on a paper towel or wire rack to cool for 2 minutes. If you like extra crispy chicken, you can fry the chicken in the oil again (after cooling). If you do this step, turn up the heat so the oil is at 425 degrees and fry for an extra 1-2 minutes.
- To make the sauce, mix kewpie mayo with sriracha hot sauce, sesame oil and togarashi. Serve the chicken with some freshly squeezed lemon & dip karaage in the sriracha mayo dipping sauce for extra flavor!
Video
@cookwithdana You guys already know I love fried chicken 😂 #cookingasmr #friedchicken #japanesefood
♬ original sound – Jecus Andrei
Notes
-
- Make Sure Your Oil is Hot. It’s important the oil is hot so that your chicken stays crispy. You can check it with a thermometer or simply add a pinch of flour to the oil and if it bubbles right away it’s ready.
-
- Don’t Overcrowd the Pot. Depending on the size of your pot you may need to cook the chicken in batches. Adding too much chicken at one time can cause the temperature of the oil to drop.
-
- Coat the chicken in potato starch evenly. This ensures that the chicken crispy on all sides.
- PRO TIP: Add a sprinkle of salt or togarashi on top of the chicken after frying for extra savory flavor! Don’t forget to squeeze some fresh lemon on the chicken before serving.


Leave a Comment